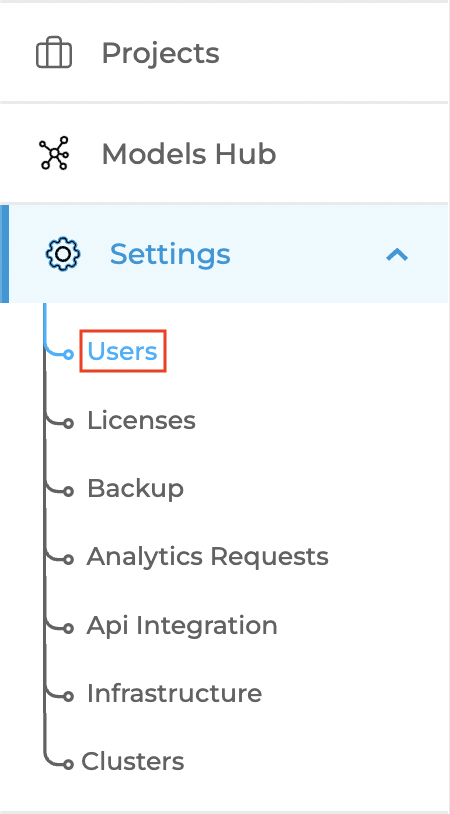
Basic user management features are present in the Generative AI Lab. The user with the admin privilege can add or remove other users from the system or can edit user information if necessary. This feature is available by selecting the Users option under the Settings menu from the navigation panel.
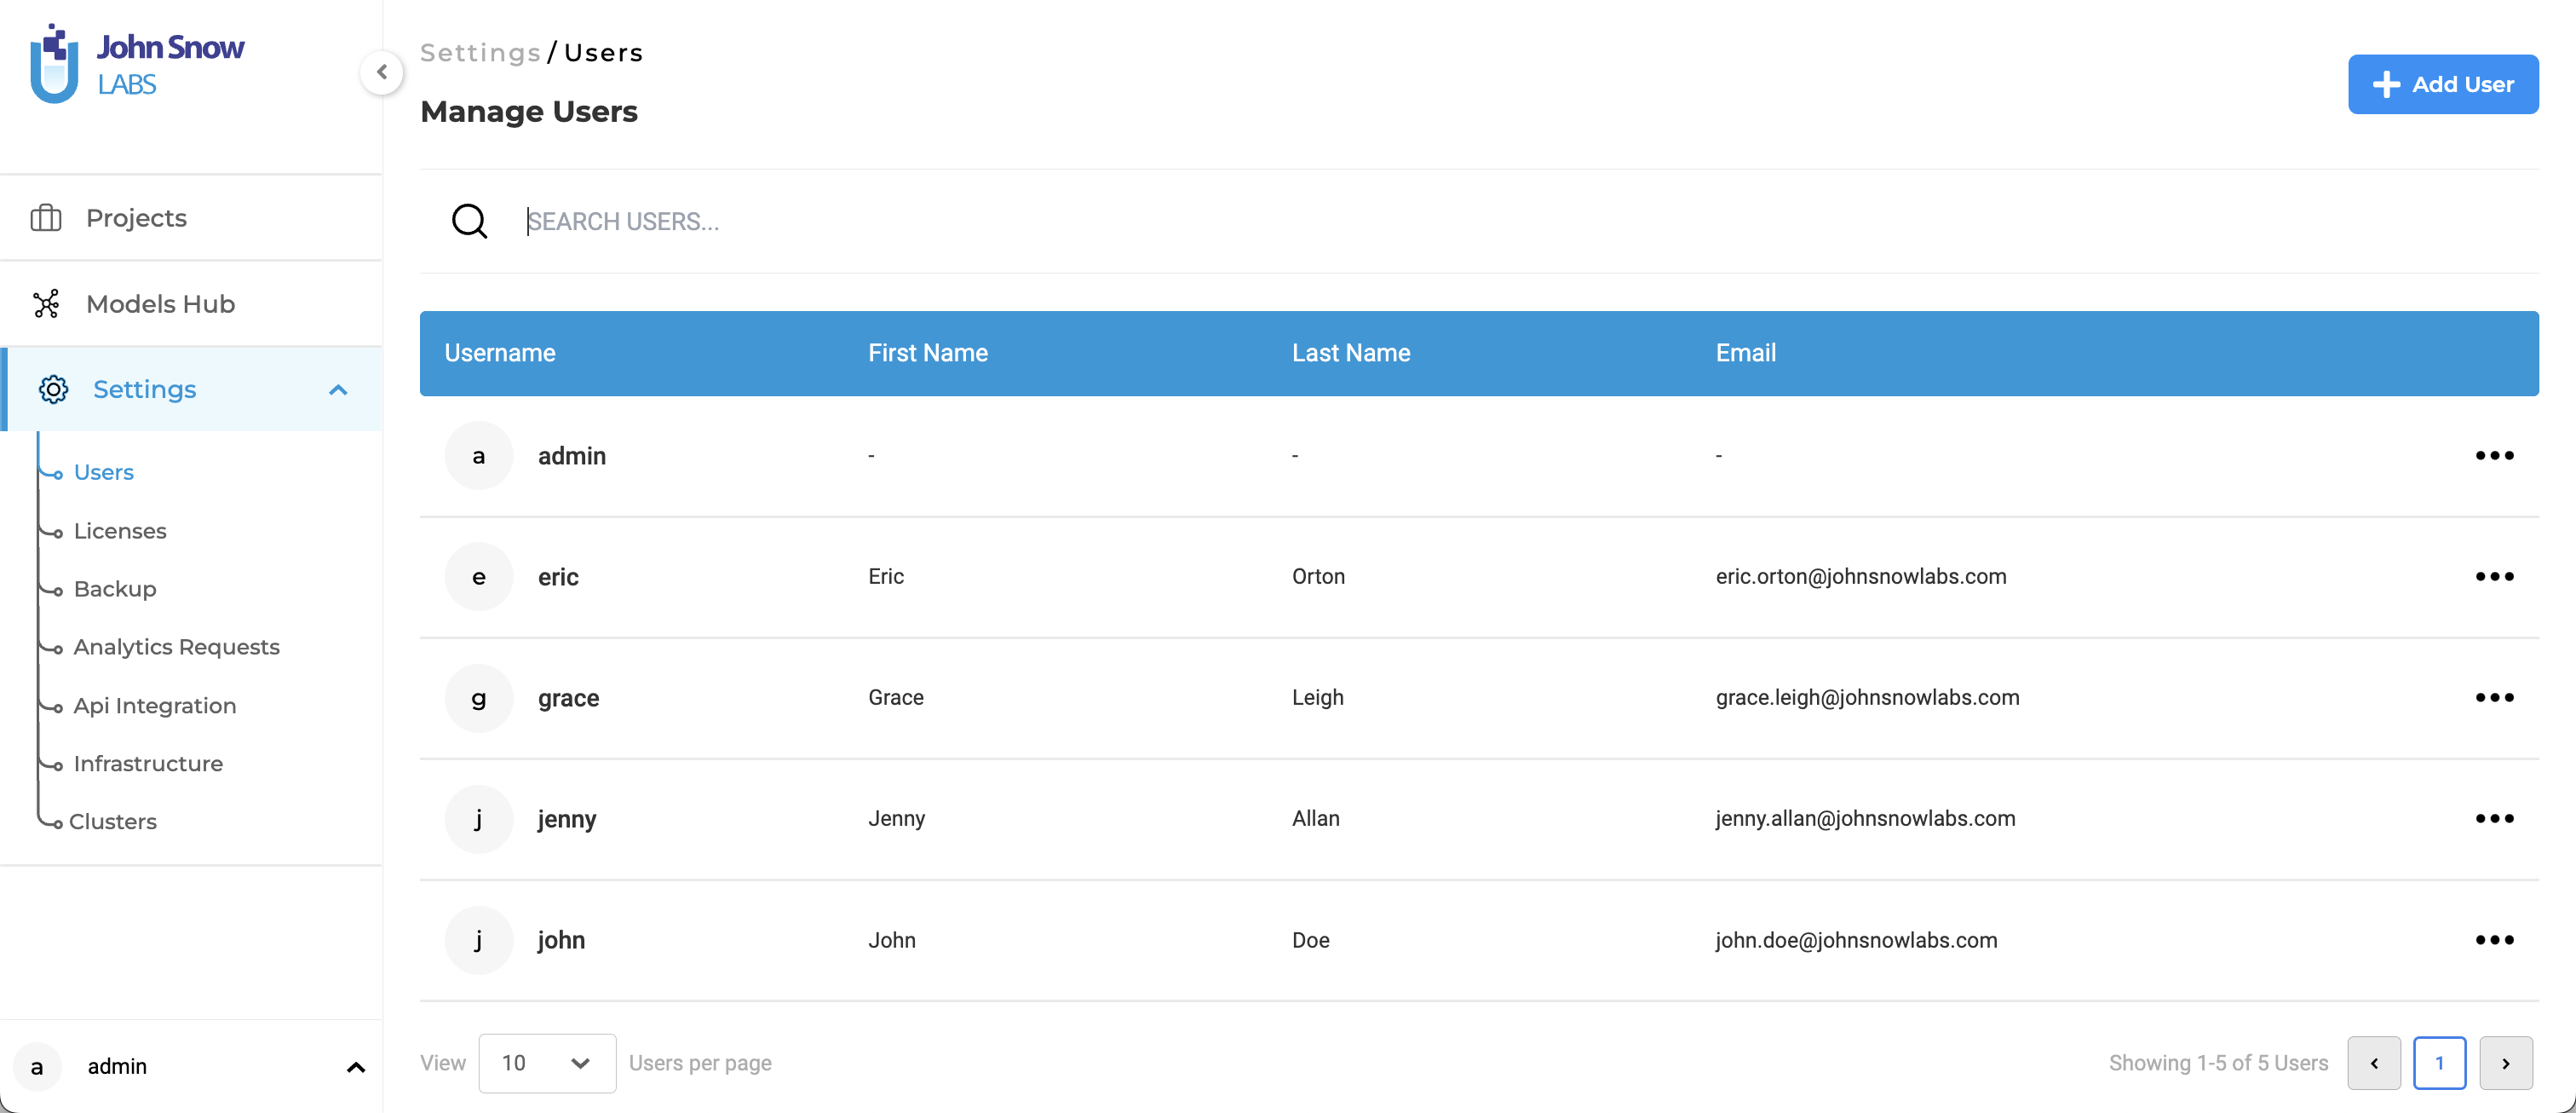
All user accounts created on the Generative AI Lab can be seen on the Users page. The table shows the username, first name, last name, and email address of all created user accounts. A user with the admin privilege can edit or delete that information, add a user to a group or change the user’s password.
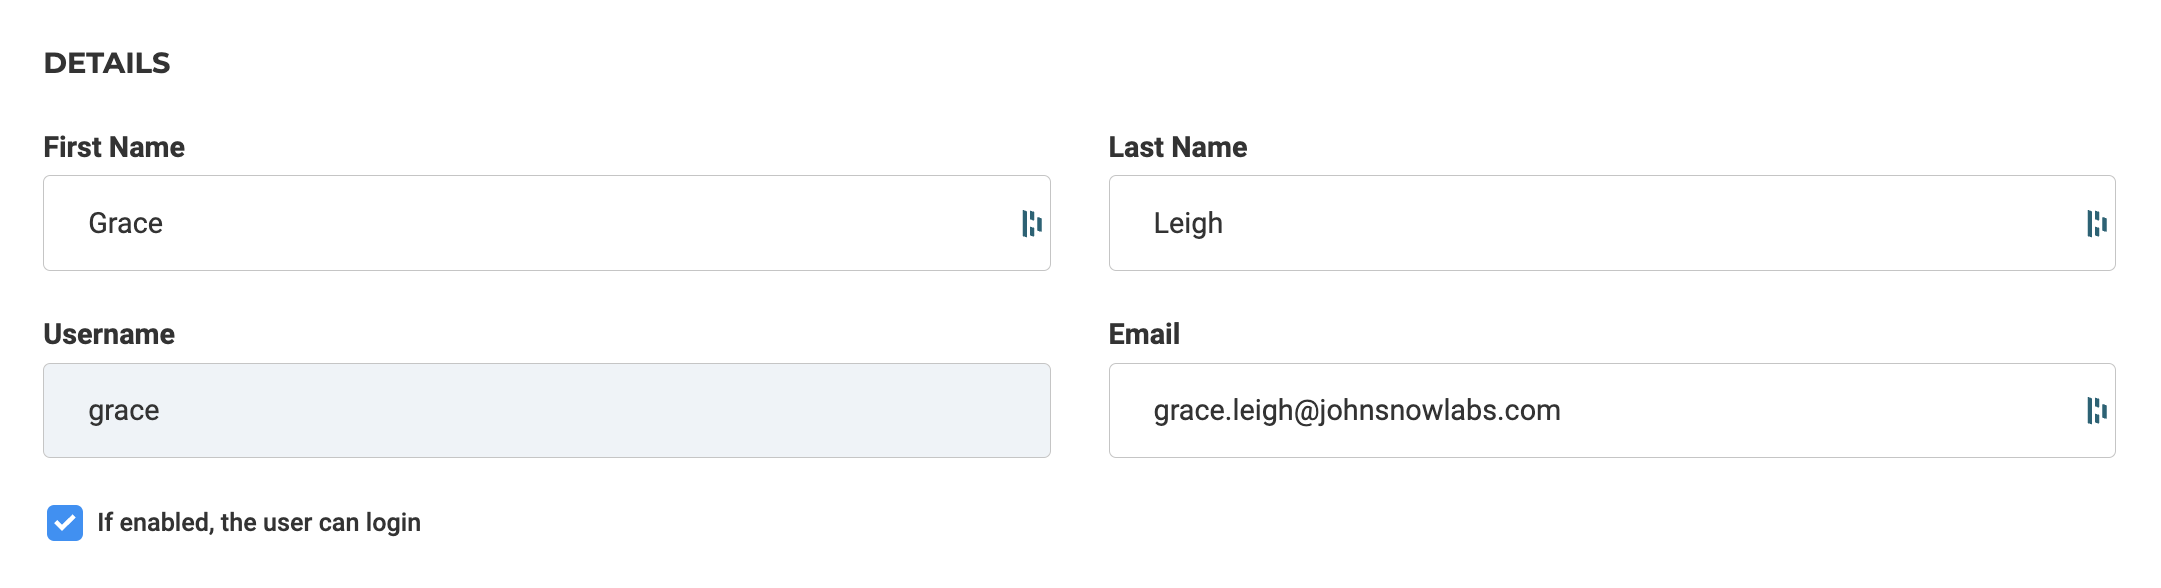
User Details
Generative AI Lab stores basic information for each user. Such as the First Name, Last Name, and Email. It is editable from the Details section by any user with admin privilege.
User Groups
Currently, two user groups are available: Annotators and Admins. By default, a new user gets added to the Annotators group. It means the user will not have access to any admin features, such as user management or other settings.
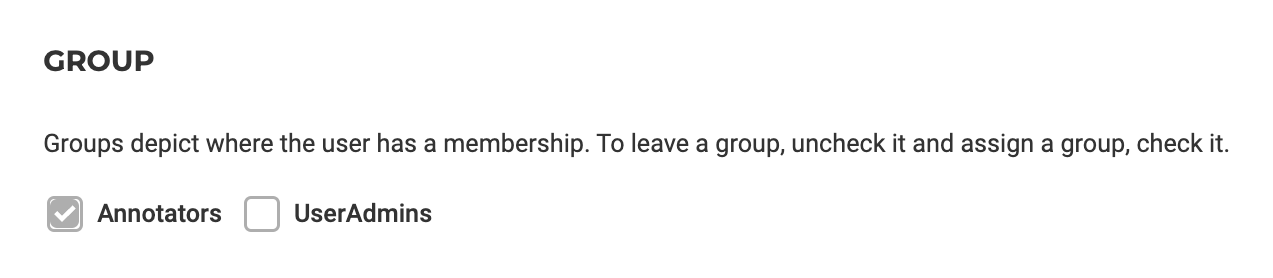
To add a user to the admin group, a user with admin privilege needs to navigate to the Users page, click on the concerned username or select the Edit option from the More Actions icon, then go to the Group section and check the Admins checkbox.
New Supervisor Role for Users
In this version of Generative AI Lab, we’re excited to introduce a new user role: Supervisor. The Supervisor role offers enhanced authority compared to the Annotator role while maintaining restrictions, similar to the Admin role.
Role Authority:
A user with the Supervisor role has access to almost all functionalities available to the Admin role, with a few exceptions:
- Users Page Access: Supervisors cannot access the Users page, limiting their ability to create and edit users within the system.
- External Service Providers: They do not have access to external service providers and cannot use prompts created by other users via external service providers.
- Limited Access to System Settings: Supervisors have read-only access to Analytics Requests page, License page, Infrastructure Settings, and Export Project Settings in the System Settings page.
- No Access to Backup Page: The Backup page is inaccessible to users with the Supervisor role.
Creating a user with Supervisor Role
The process of creating a user with the new role is just like creating any other users. As an admin user, navigate to the “Users” page under “Settings” menu item, then Add a new user, assign Supervisor role and save it.
The introduction of the Supervisor role enhances user management capabilities while maintaining necessary restrictions to ensure data security and system integrity. This role provides users with the appropriate level of authority to oversee projects and workflows effectively within Generative AI Lab.
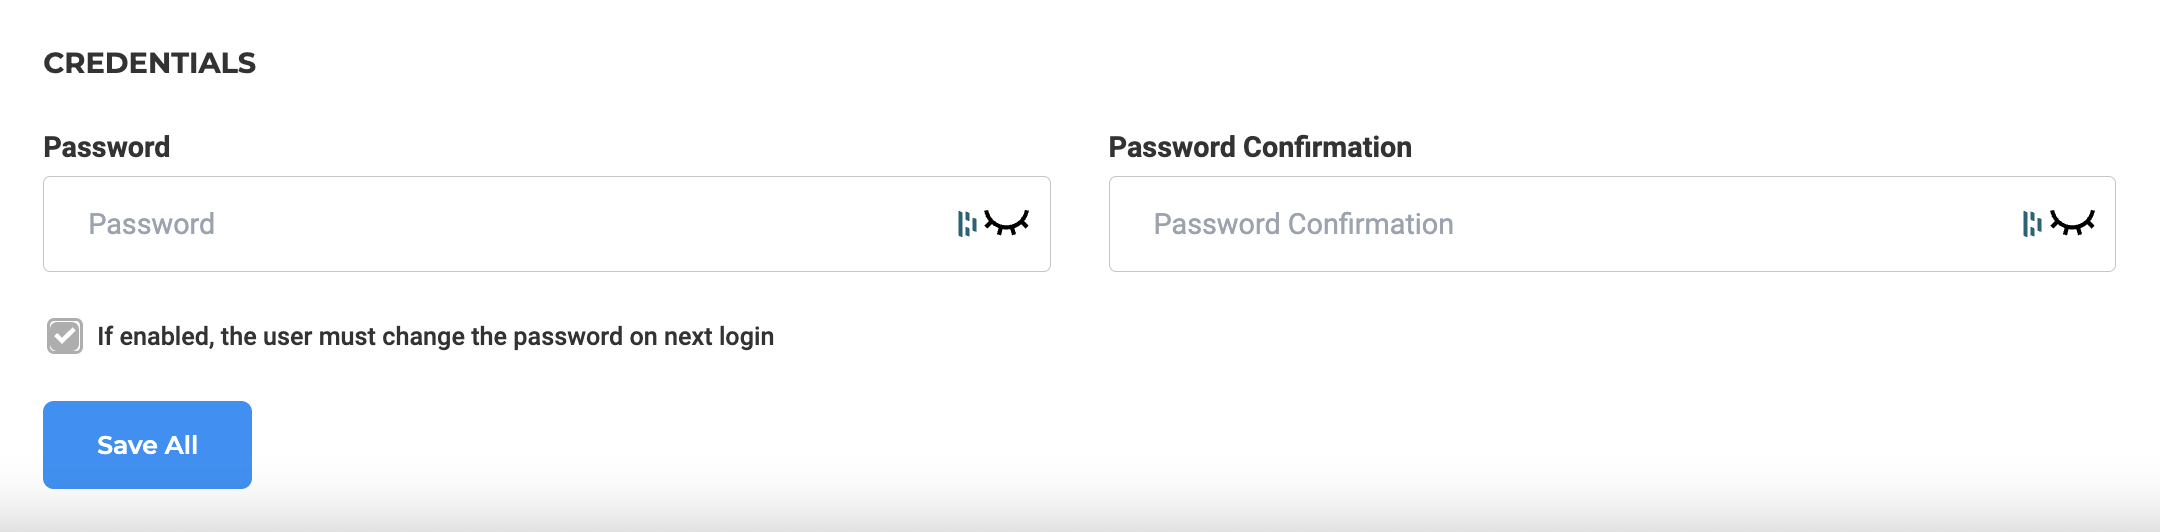
Reset User Credentials
A user with the admin privilege can change the login credentials for another user by navigating to the Credentials section of the edit user page and defining a new (temporary) password. For extra protection, the user with the admin privilege can enforce the password change on the next login.
SAML Integration
Generative AI Lab supports Security Assertion Markup Language (SAML). To log in using SAML, follow the steps below.
SAML Server Setup
Run the following command to setup a sample SAML server in a Docker environment:
docker run --rm --name mysamlserver -p 8081:8080 -p 8443:8443 -e SIMPLESAMLPHP_SP_ENTITY_ID=http://{IP}/auth/realms/master -e SIMPLESAMLPHP_SP_ASSERTION_CONSUMER_SERVICE=http://{IP}/auth/realms/master/broker/saml/endpoint --network annotationlab kristophjunge/test-saml-idp
SAML Configuration
Follow the steps described below to setup a SAML connection.
-
Access the Generative AI Lab Keycloak console by navigating to {ip}/auth or {domain}/auth, and log in with the admin user credentials.
-
Navigate to
Identity ProvidersunderConfigureon the left-side menu. -
Choose
SAML v2.0from Add Provider drop-down menu and a configuration page should appear.
-
Provide values for
Alias(e.g: saml) andDisplay Name(e.g: SAML). The value forDisplay Namewill be seen in the login page. -
Now, set the value of the following attributes as shown below:
- Enabled: On
- Store Tokens: On
- First Login Flow : first broker login
- Sync Mode: force
-
Under SAML Config specify values for the following parameters as provided by SAML sever:
- Service Provider Entity ID
- Single Sign-On Service URL
- Single Logout Service URL
-
Choose a
Principal Type(e.g: Attribute[Name]) and add value toPrincipal Attribute(e.g. email) according to the data provided by SAML server -
Click on the
Savebutton to save the changes.
Identity Provider Mapper
An Identity Provider Mapper must be defined for importing SAML data provided by the External Identity Provider (IDP) and using it for authenticating into Generative AI Lab. This allows user profile and other user information to be imported and made available into Generative AI Lab.
On Identity Providers > SAML page click on the Mappers tab located next to the Settings tab and follow the steps below:
- Click on
Create. This should open a form to add a newIdentity Provider Mapper -
Set the value for the following attributes:
- Name(e.g: uma_protection mapper)
- Sync Mode Override: inherit
- Mapper Type: Hardcoded Role
- Click on the
Select Rolebutton and under theClient Rolesmenu putannotationlab. Now, selectuma_protectionand click onSelect client role.annotationlab.uma_protectionshould be the value displayed forRole - Save the changes
Default Group
Default groups are used for assigning group membership automatically whenever any new user is created. Add Annotators as the default group using the following steps:
- Goto
Groups, on the left side panel underManages - Select the
Default Groupstab - Under
Available GroupsselectAnnotatorsand then click on theAddbutton
Now, Annotators should be listed under Default Groups.

Login to Generative AI Lab
Goto the Generative AI Lab’s login dashboard and click on the display name which was set earlier(e.g: SAML). This is displayed under Or sign in with.

Login with the data provided by the SAML server here:

The user account information is updated and the user is redirected to Generative AI Lab and presented with the Project dashboard.
NOTES: Users added as an IDP will be available in the
Userstab on the left side underManages