Simplified workflow
Direct Submit
Using the classical annotation workflow, when an annotator works on a task, a series of actions are necessary for creating a new annotation and submitting it as ground truth:
- Create the completion
- Save the completion
- Submit the completion
- Confirm submission
- Load next task
This process is adapted for more complex workflows and large tasks. For simple projects with smaller tasks, Generative AI Lab now offers a simplified workflow. Annotators can submit a completion with just one click.
The Project Owner/Manager can activate this option from the

Note:
- Annotator can Save/Update completion using
CTRL+Enter- Annotator can Submit completion using
ALT+Enter
Accept Prediction
When predictions are available for a task, Annotator can accept the predictions with just one click and navigate automatically to the next task. When users click on Accept Prediction, a new completion is created based on the prediction, then submitted as ground truth, and the next task in line (assigned to the current annotator/reviewer and with

NOTE: Press backspace key (on windows) or delete key (on mac) to delete the selected relation from the labeling editor or use the delete action icon on the Relations widget.
Labeling editor Settings
The labeling editor offers some configurable features. For example, you can modify the editor’s layout, show or hide predictions, annotations, or the confidence panel, show or hide various controls and information. It is also possible to keep a label selected after creating a region, display labels on bounding boxes, polygons and other regions while labeling, and show line numbers for text labeling.
Enable labeling hotkeys
This option enables/disable the hotkeys assigned to taxonomy labels to use the hotkeys during the annotation process.
Show hotkey tooltips
This option shows/hides the hotkey and tooltip on the taxonomy label and the control buttons. Enable labeling hotkeys must be enabled for this option to work.


Show labels inside the regions
When you enable this option, the labels assigned to each annotated region are displayed on the respective region.

Keep label selected after creating a region
This option helps users quickly annotate sequences of the same label by keeping the label selected after the annotation of a region.
With the option unchecked:

With the option checked:

Select regions after creating
This option keeps the annotated region selected after annotation. In this way, it will be easier for users to quickly change the assigned label for the last selected region if necessary.

Show line numbers for Text
This option adds line numbers to the text content to annotate in the labeling editor.

Label all occurrences of selected text
When checked, this option allow users to annotate all occurences of a text in the current task in one step.

Labeling editor Customizations
The Labeling editor is highly customizable. Project Owners and Managers can change the layout of their projects based on their needs.
Search filter for a large number of labels
When a project has a large number of NER/Assertion labels in the taxonomy, the display of the taxonomy takes a lot of screen space, and it is difficult for annotators to navigate through all labels. To tackle this challenge, Generative AI Lab supports search for labels in NER projects (an autocomplete search option).
To add the search bar for NER Labels or Choices, use the Filter tag as shown in the following XML configuration.
<Filter />

<View>
*** enclose labels tags here ***
</View>

<View>
*** enclose text tags here ***
</View>
Parameters:
The following parameters/attributes can be used within the Filter tag.
| Param | Type | Default | Description |
|---|---|---|---|
| placeholder | string | Quick Filter | Placeholder text for filter |
| minlength | number | 3 | Size of the filter |
| style | string | CSS style of the string | |
| hotkey | string | Hotkey to use to focus on the filter text area |
Usage Example:
<Filter placeholder="Quick Filter"/>

For obtaining the above display on a NER project, the config should look as follows:
<View>
  <Filter name="fl" toName="label" hotkey="shift+f" minlength="1" />

  <Labels name="label" toName="text">
    <Label value="CARDINAL" model="ner_onto_100" background="#af906b"/>
    <Label value="EVENT" model="ner_onto_100" background="#f384e1"/>
    ...
    <Label value="LANGUAGE" model="ner_onto_100" background="#c0dad2"/>
  </Labels>

  <Text name="text" value="$text"/>
</View>
Notice how users can search for the desired label using the filter bar:

Resizable label and text container
While annotating longer text documents annotators may need to scroll to the top of the document for selecting the label to use, and then scroll down to create a label. Also, if the text is large, annotators have to scroll to a certain section because the textbox size is fixed. In those cases, the annotation experience can be improved by creating a scrollable labeling area and textbox area.
To add the scroll bar, the View tag with a fixed height and overflow-y:scroll style property can be used as shown in the following XML config structure:
<View style="background:white; height: 100px; overflow-y:scroll; resize:vertical; position:sticky; top:0;">
*** enclose labels tags here ***
</View>

<View style="resize:vertical; margin-top:10px; max-height:400px; overflow-y:scroll;">
**** enclose text tags here**
</View>
Once it has been added and saved to the Project Configuration, the scroll bar should be visible.

Example
Using the following Project Configuration
<View>
  <Filter name="fl" toName="label" hotkey="shift+f" minlength="1" />
  <View style="background:white; height: 100px; overflow-y:scroll; resize:vertical; position:sticky; top:0;">
    <Labels name="label" toName="text">
      <Label value="CARDINAL" model="ner_onto_100" background="#af906b"/>
      <Label value="EVENT" model="ner_onto_100" background="#f384e1"/>
      <Label value="WORK_OF_ART" model="ner_onto_100" background="#0fbca4"/>
      ...
      <Label value="LANGUAGE" model="ner_onto_100" background="#c0dad2"/>
    </Labels>
  </View>
  <View style="resize:vertical; margin-top:10px; max-height:400px; overflow-y:scroll;">
    <Text name="text" value="$text"></Text>
  </View>
</View>
we’ll obtain the output illustrated below:

Comments on the Labeling Page
Generative AI Lab provides an enhanced Comments feature on the labeling page, enabling users to add, update, and delete comments directly within annotation tasks.
This capability improves communication between team members, streamlines collaboration, and boosts overall annotation efficiency.
To use this feature, open the burger menu at the top-right corner of the labeling page and choose the Comments option from the dropdown to manage task-level discussions.
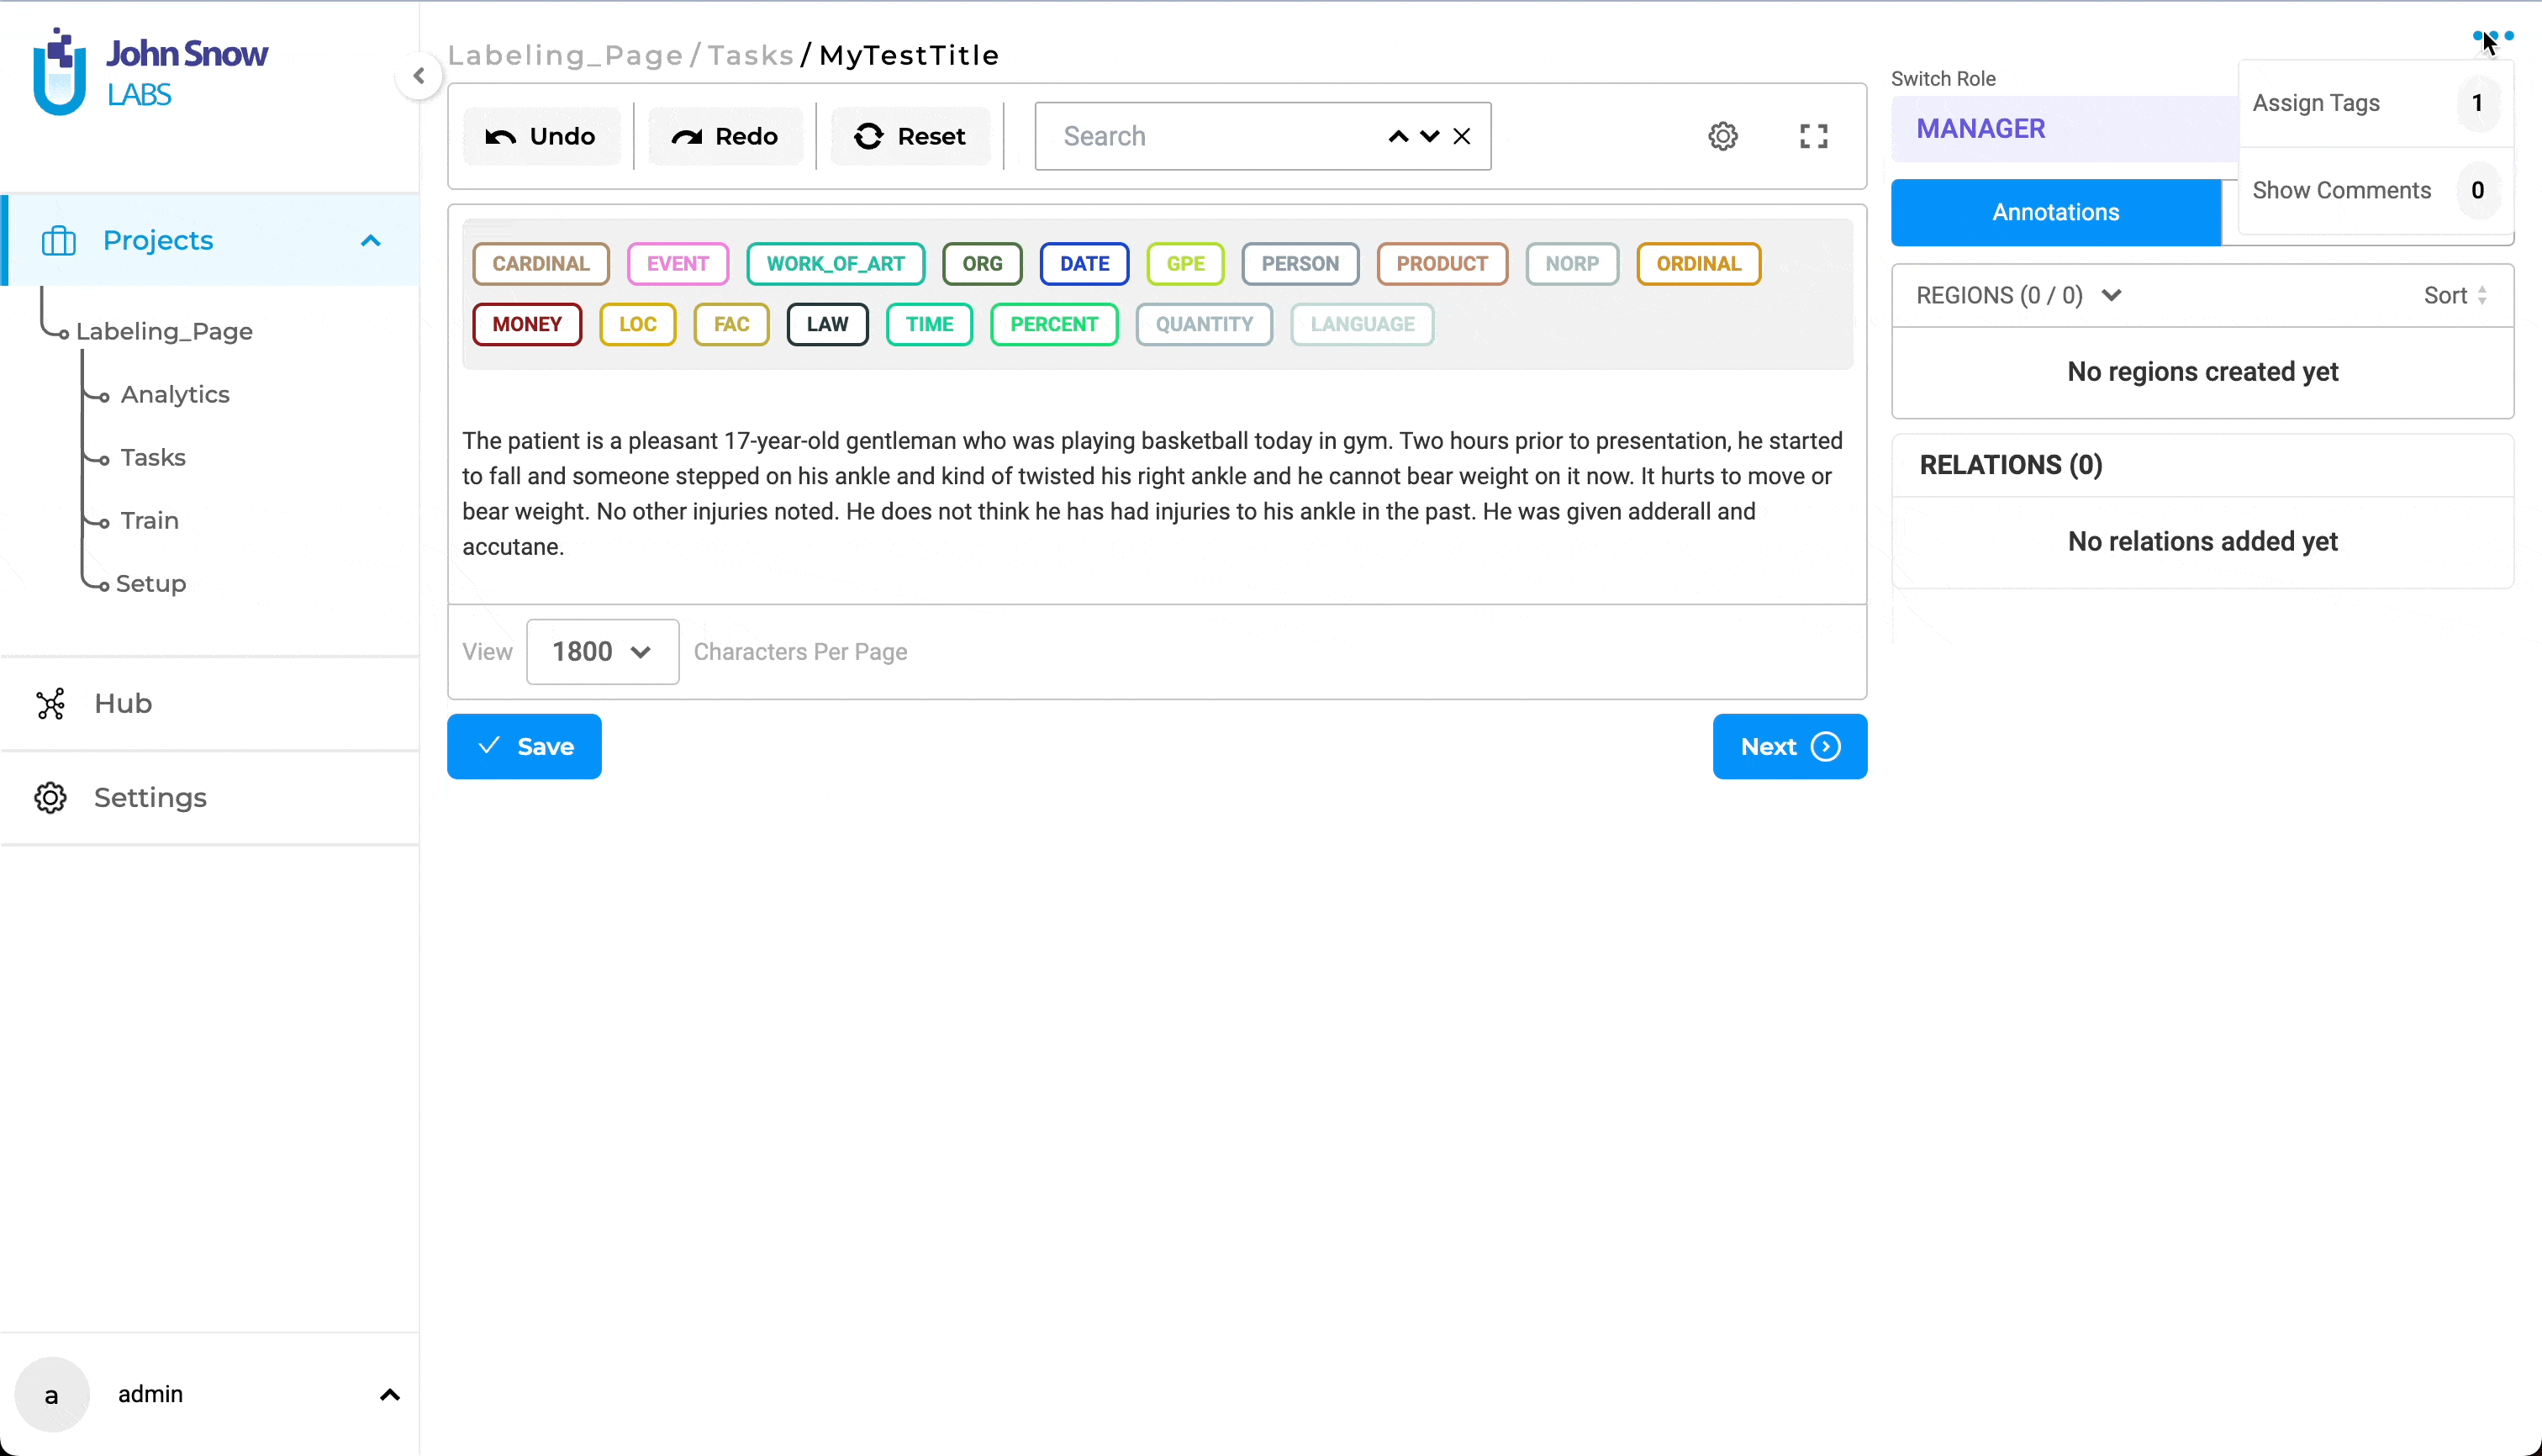
Tags from the Labeling Screen
Generative AI Lab includes an enhanced Tags feature on the labeling page, allowing users to create, attach, and delete tags directly while annotating.
This feature improves organization and productivity by streamlining task management, making it easier to classify and monitor labeled data.
The tags option is available from the burger menu at the top-right corner of the labeling page.
From the dropdown, select Assign Tags to manage task tagging.

Once the users select the tag/tags, they will be displayed against the tasks on the tasks page.
Toggle Preview Window
Label configuration editor and

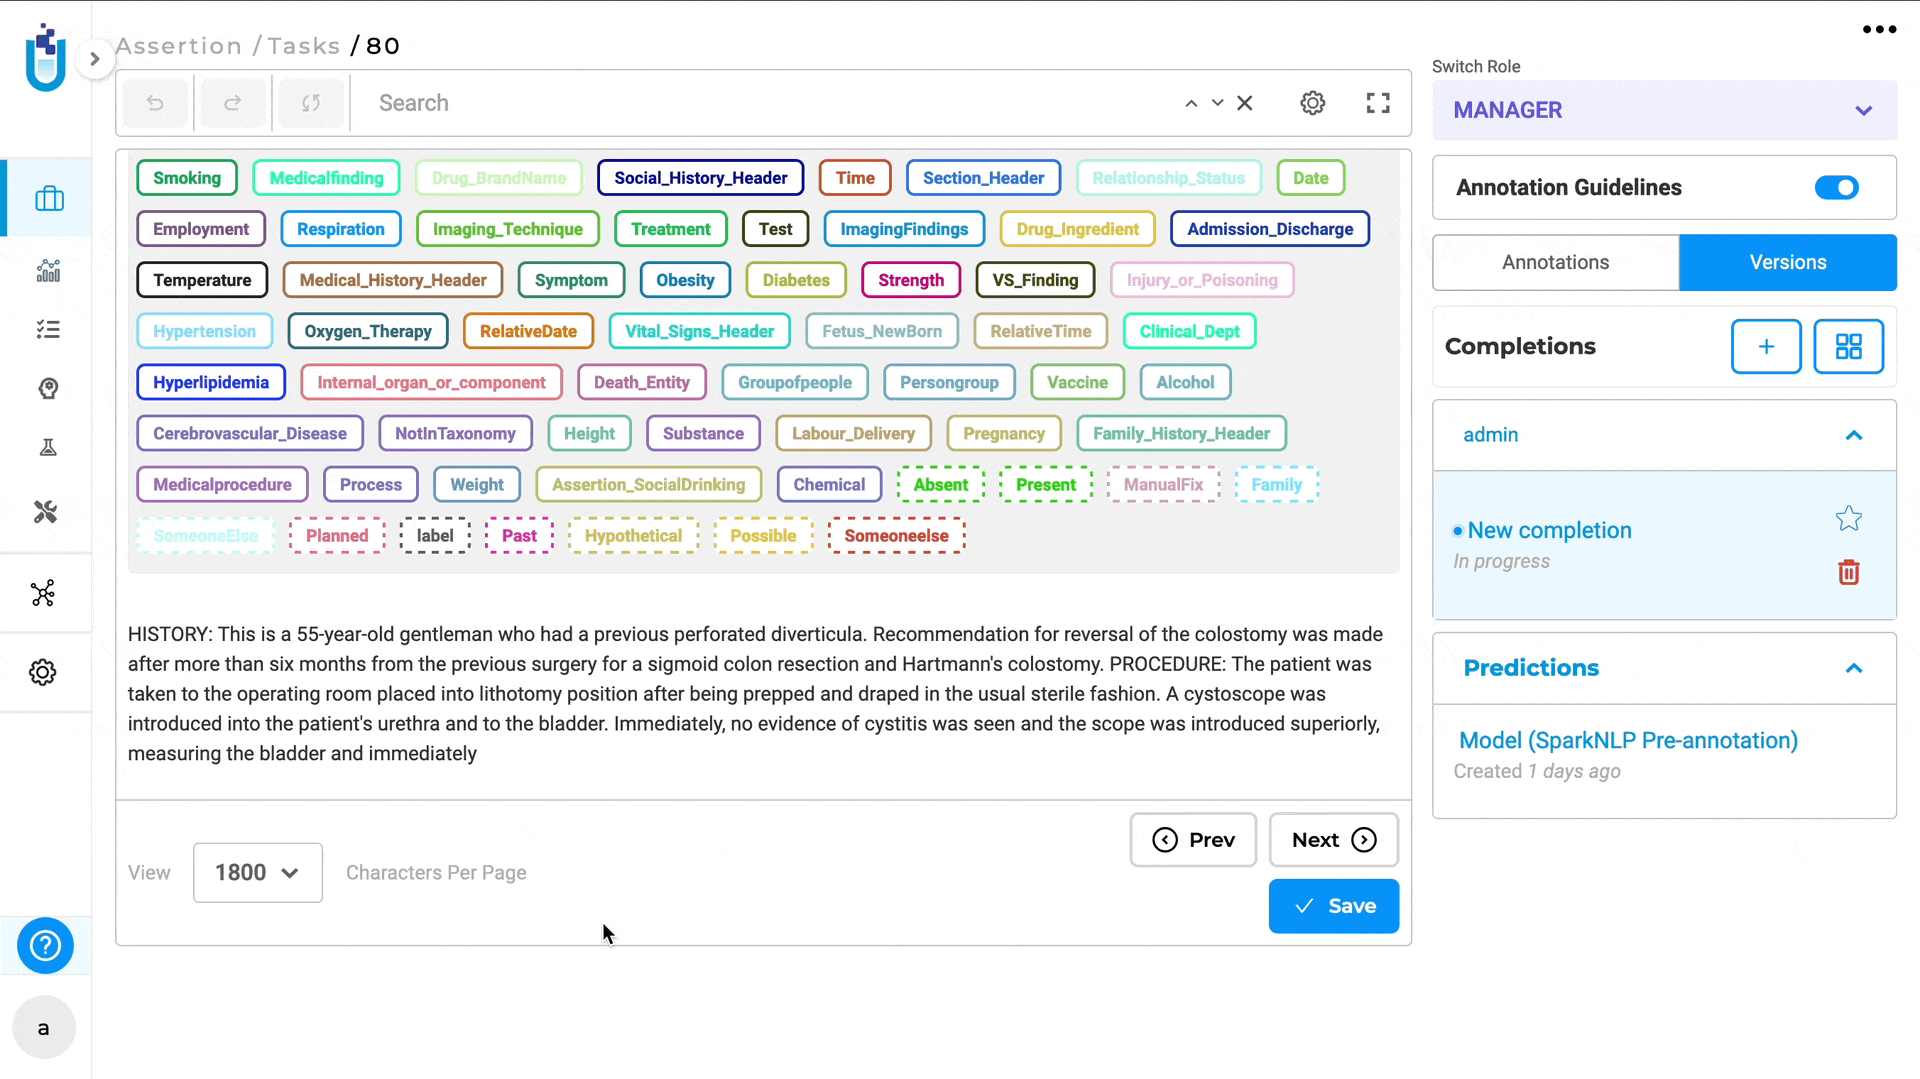
Switch Role
For users with multiple roles (Annotator, Reviewer, or Manager), the labeling page can display role-specific views to simplify the interface.
The Switch Role filter, located in the top-right corner of the labeling page, allows users to change their active role and instantly adjust the workspace accordingly.
Selecting the Annotator option focuses the view on annotation tasks, while choosing Reviewer or Manager displays the appropriate tools and controls for those roles.
The selected view preference is automatically saved and persists across sessions.

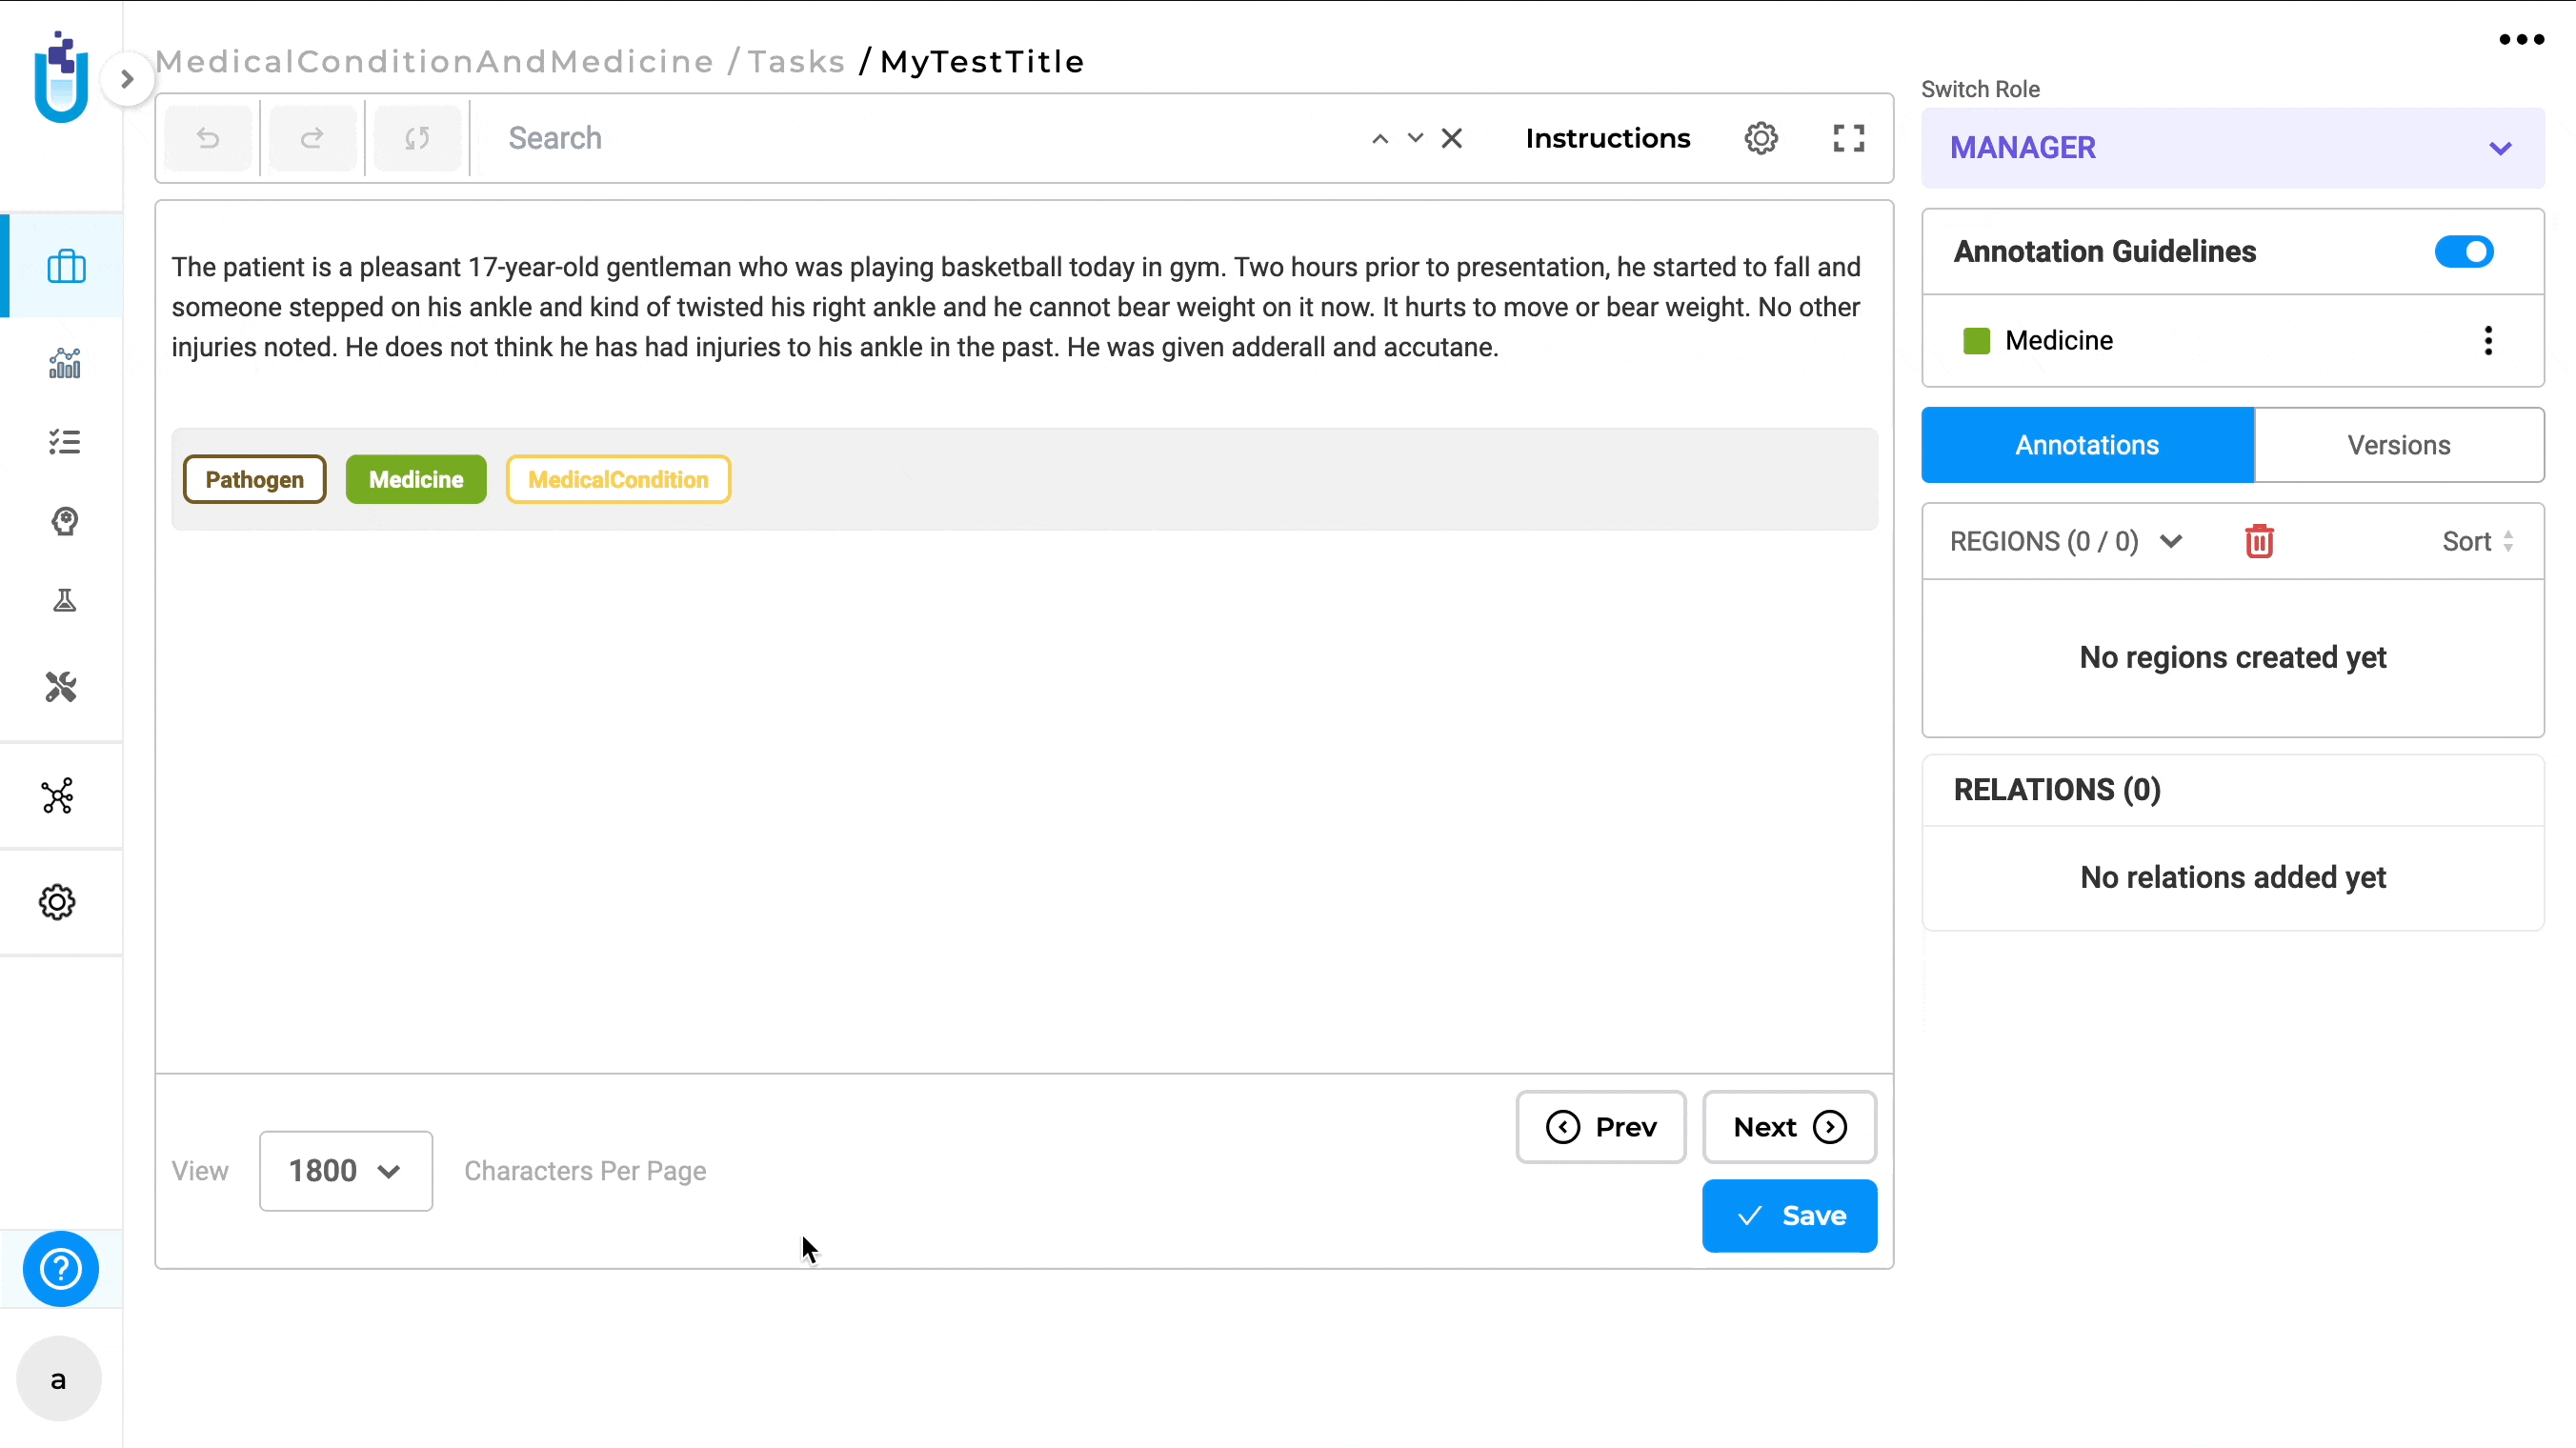
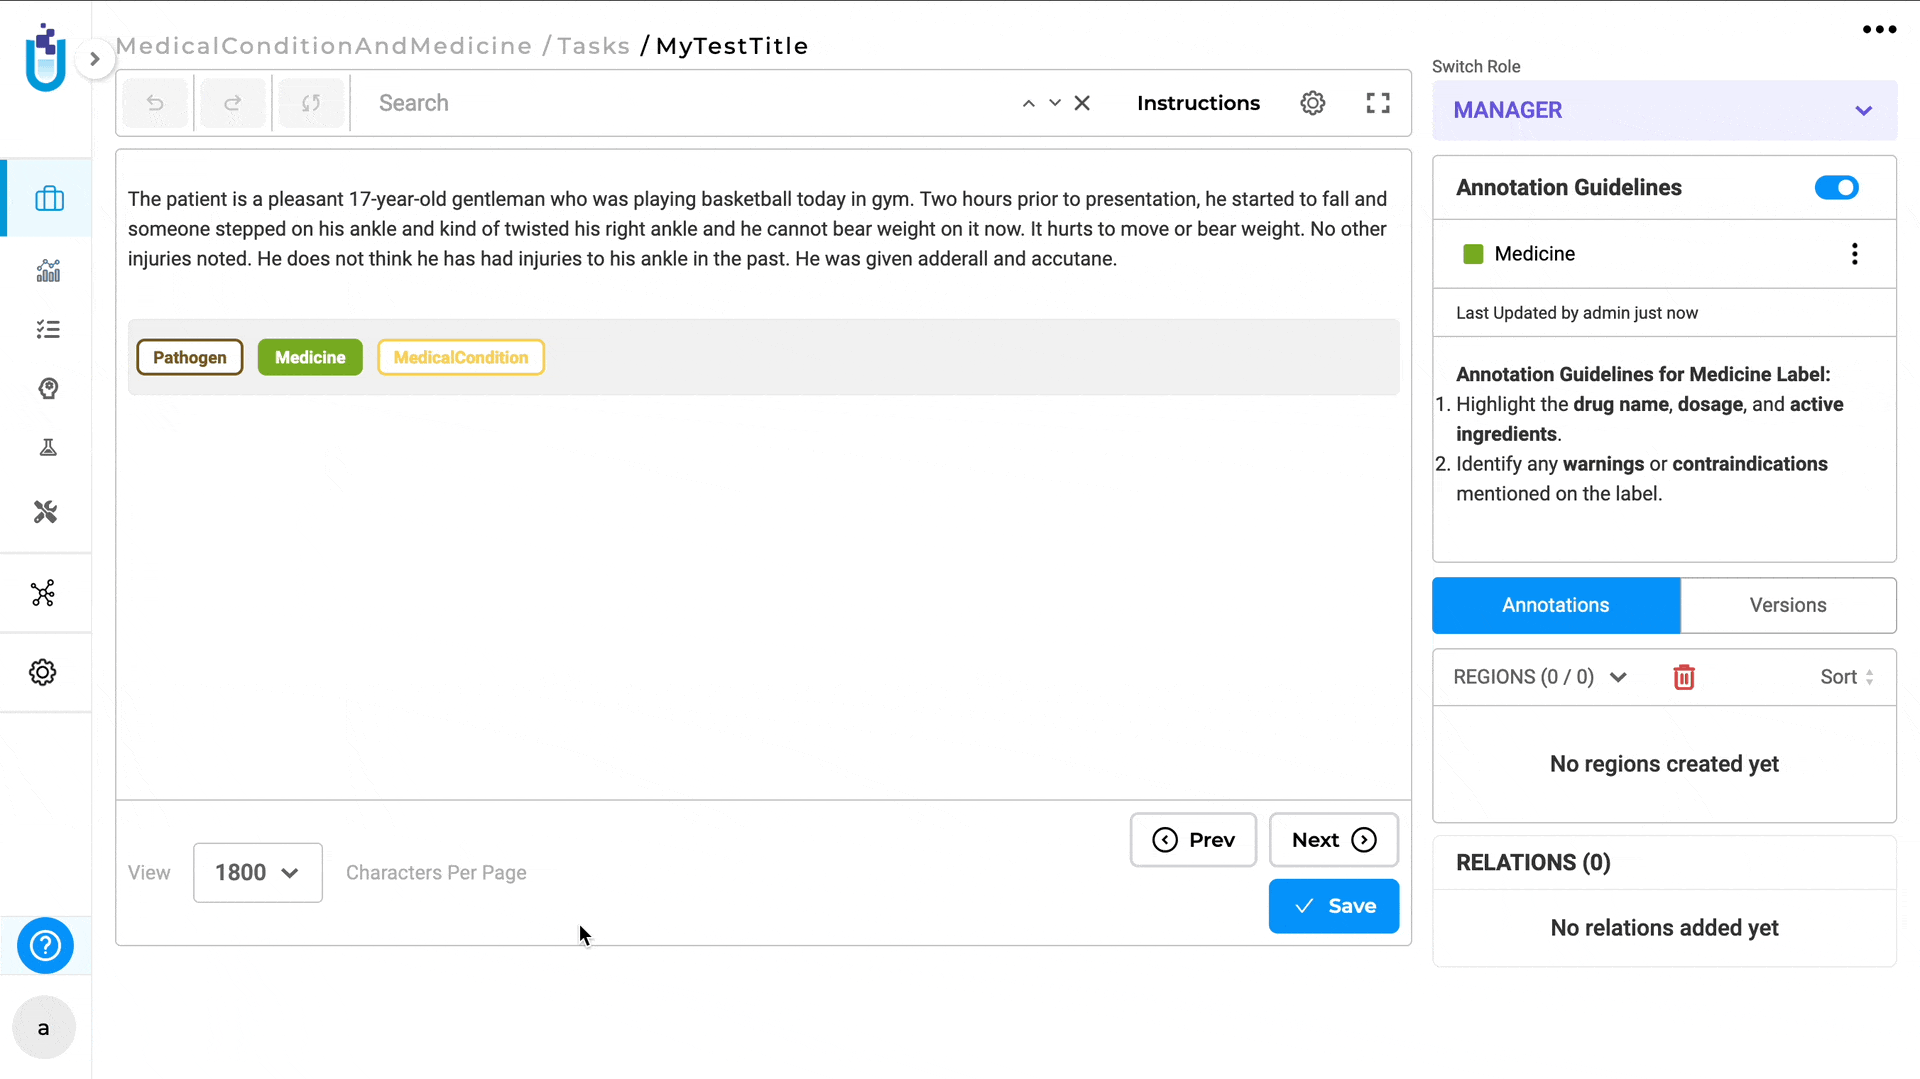
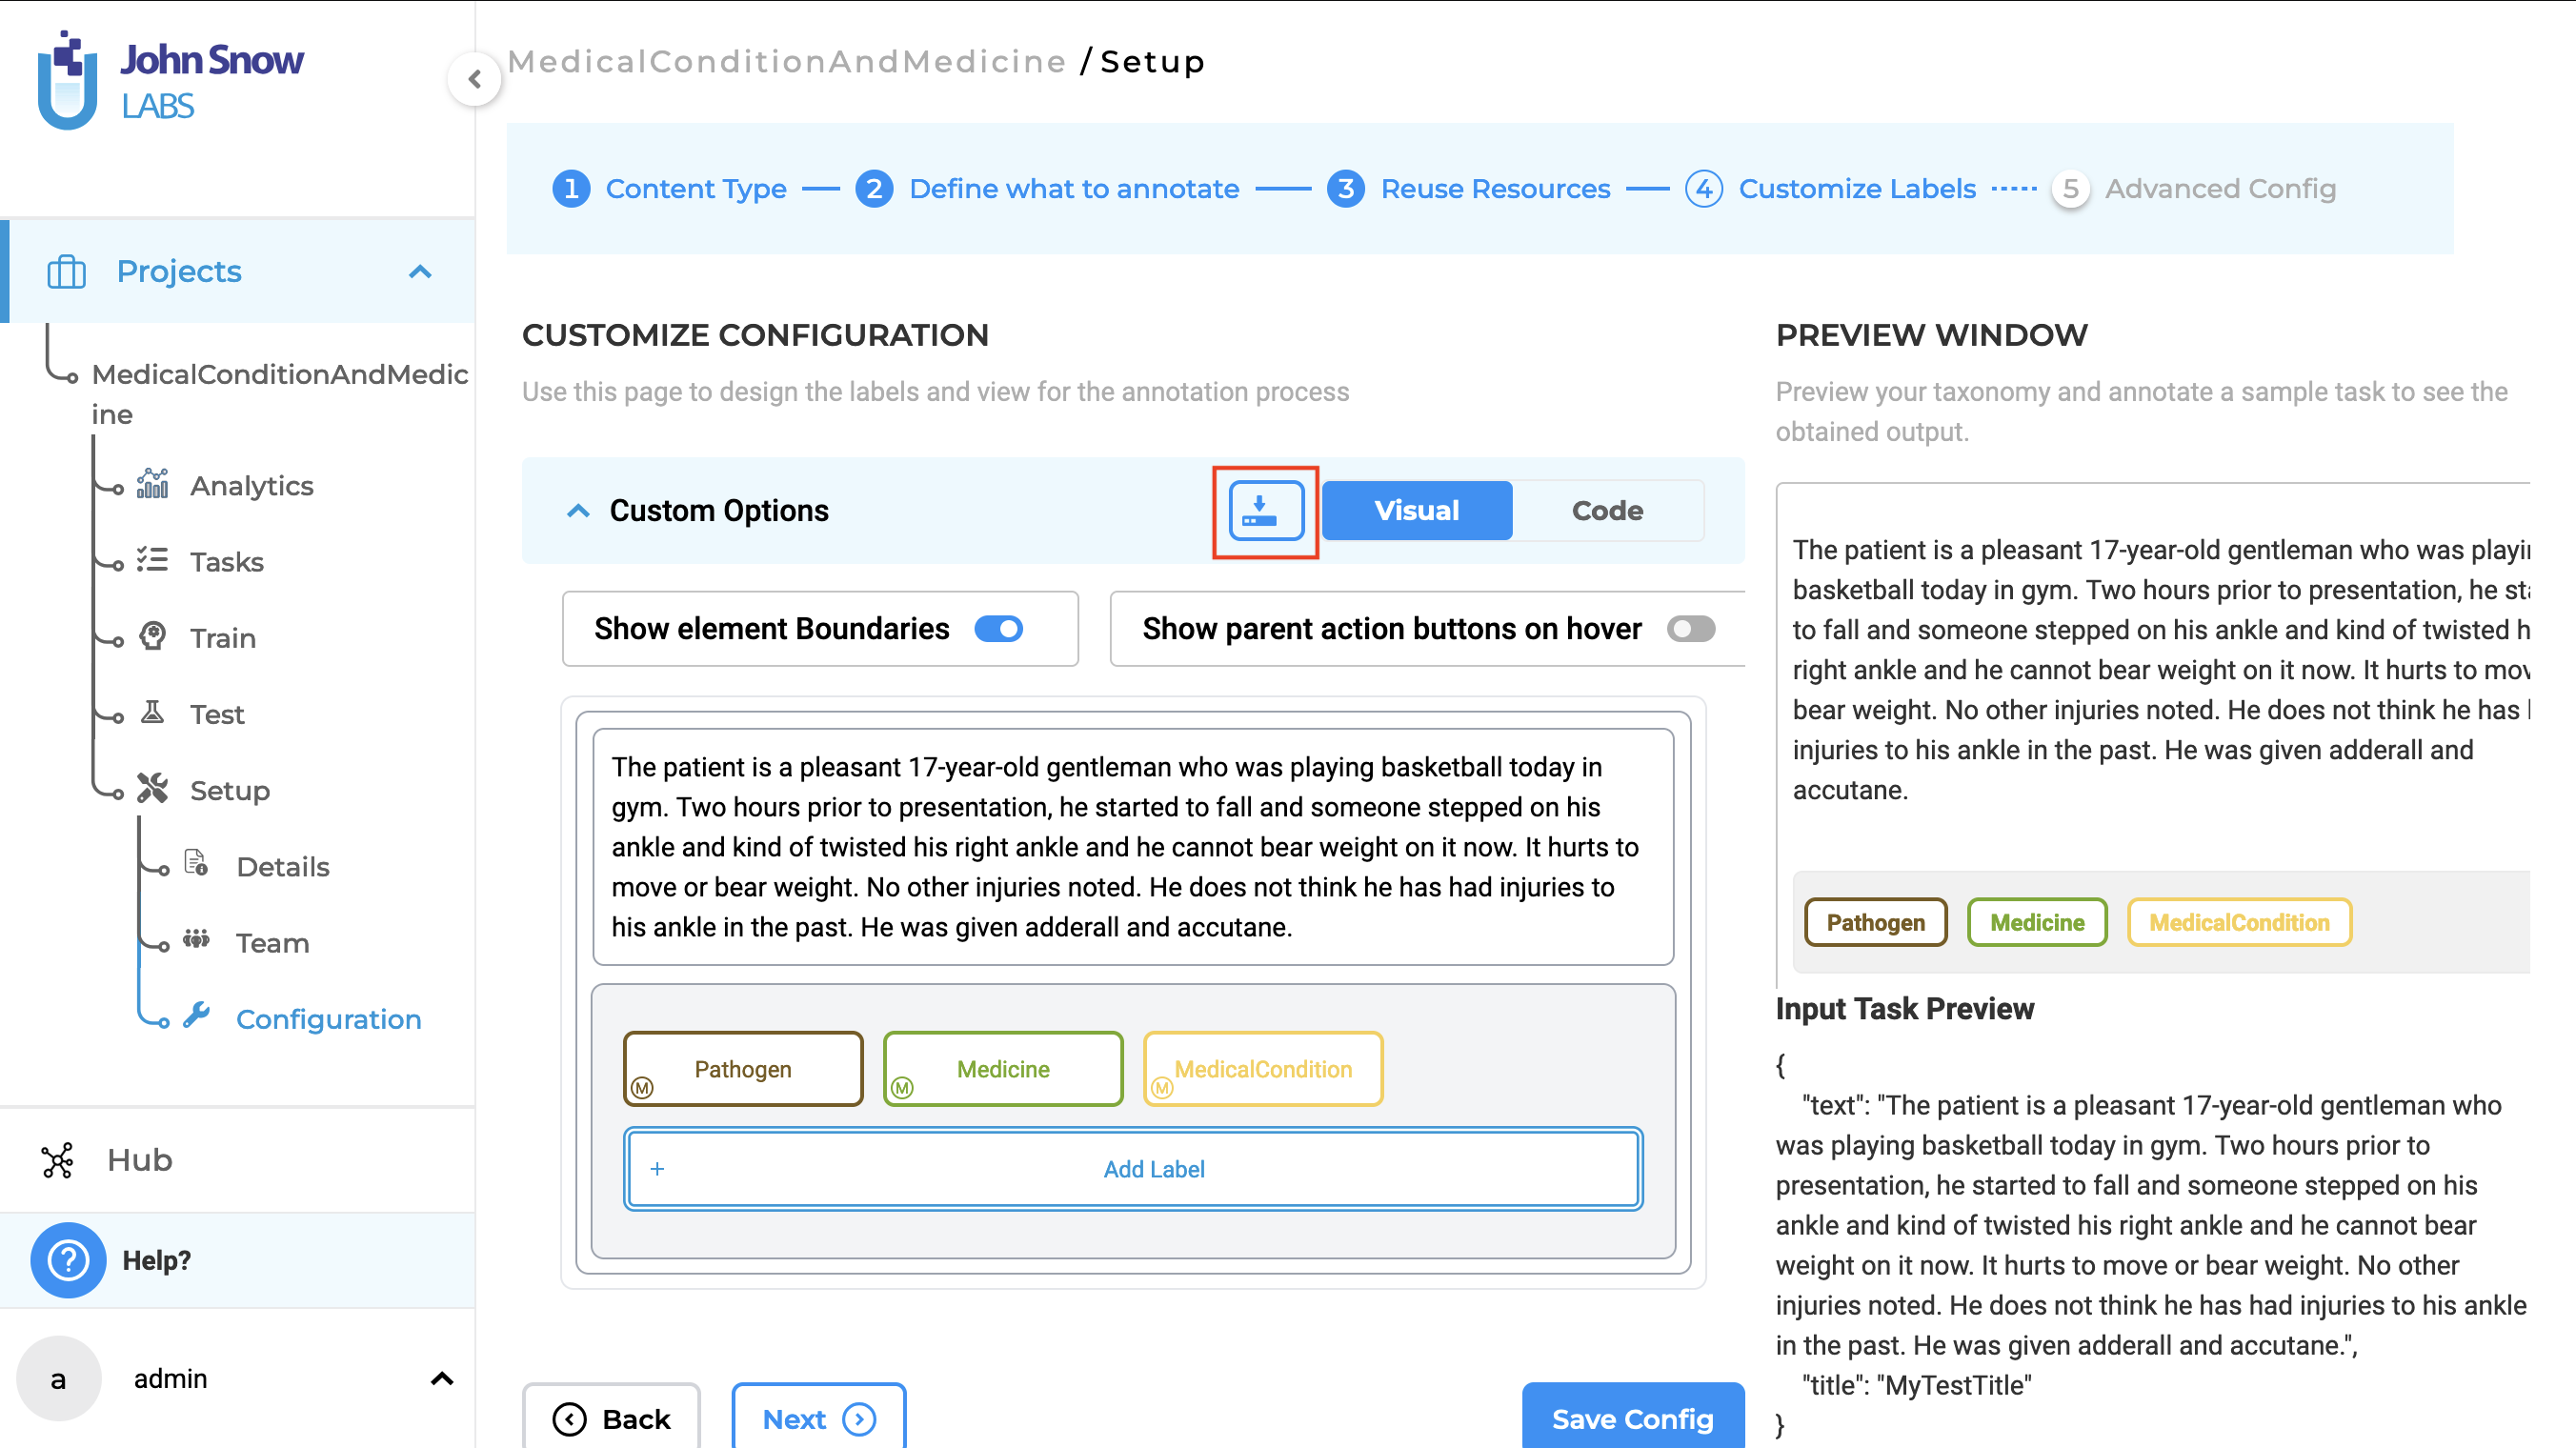
Annotation Instructions for Labels
Admin users can add annotation instructions to labels directly from the Customize Labels page during project setup.
This feature helps ensure that annotators have clear, consistent labeling guidelines, improving annotation accuracy and quality.
Annotation guidelines are supported for both NER (Named Entity Recognition) and Visual NER project types, providing flexibility across different annotation formats.
To add annotation instructions to a label, follow these steps:
- Navigate to the
Customize Labelssection, where all project labels are listed. - Click the Edit icon next to the label for which you want to add instructions.
This opens the Edit Label window. - Enter your guidelines under the Label Instructions field.
- Click Save Label, then Save Config to apply your changes.

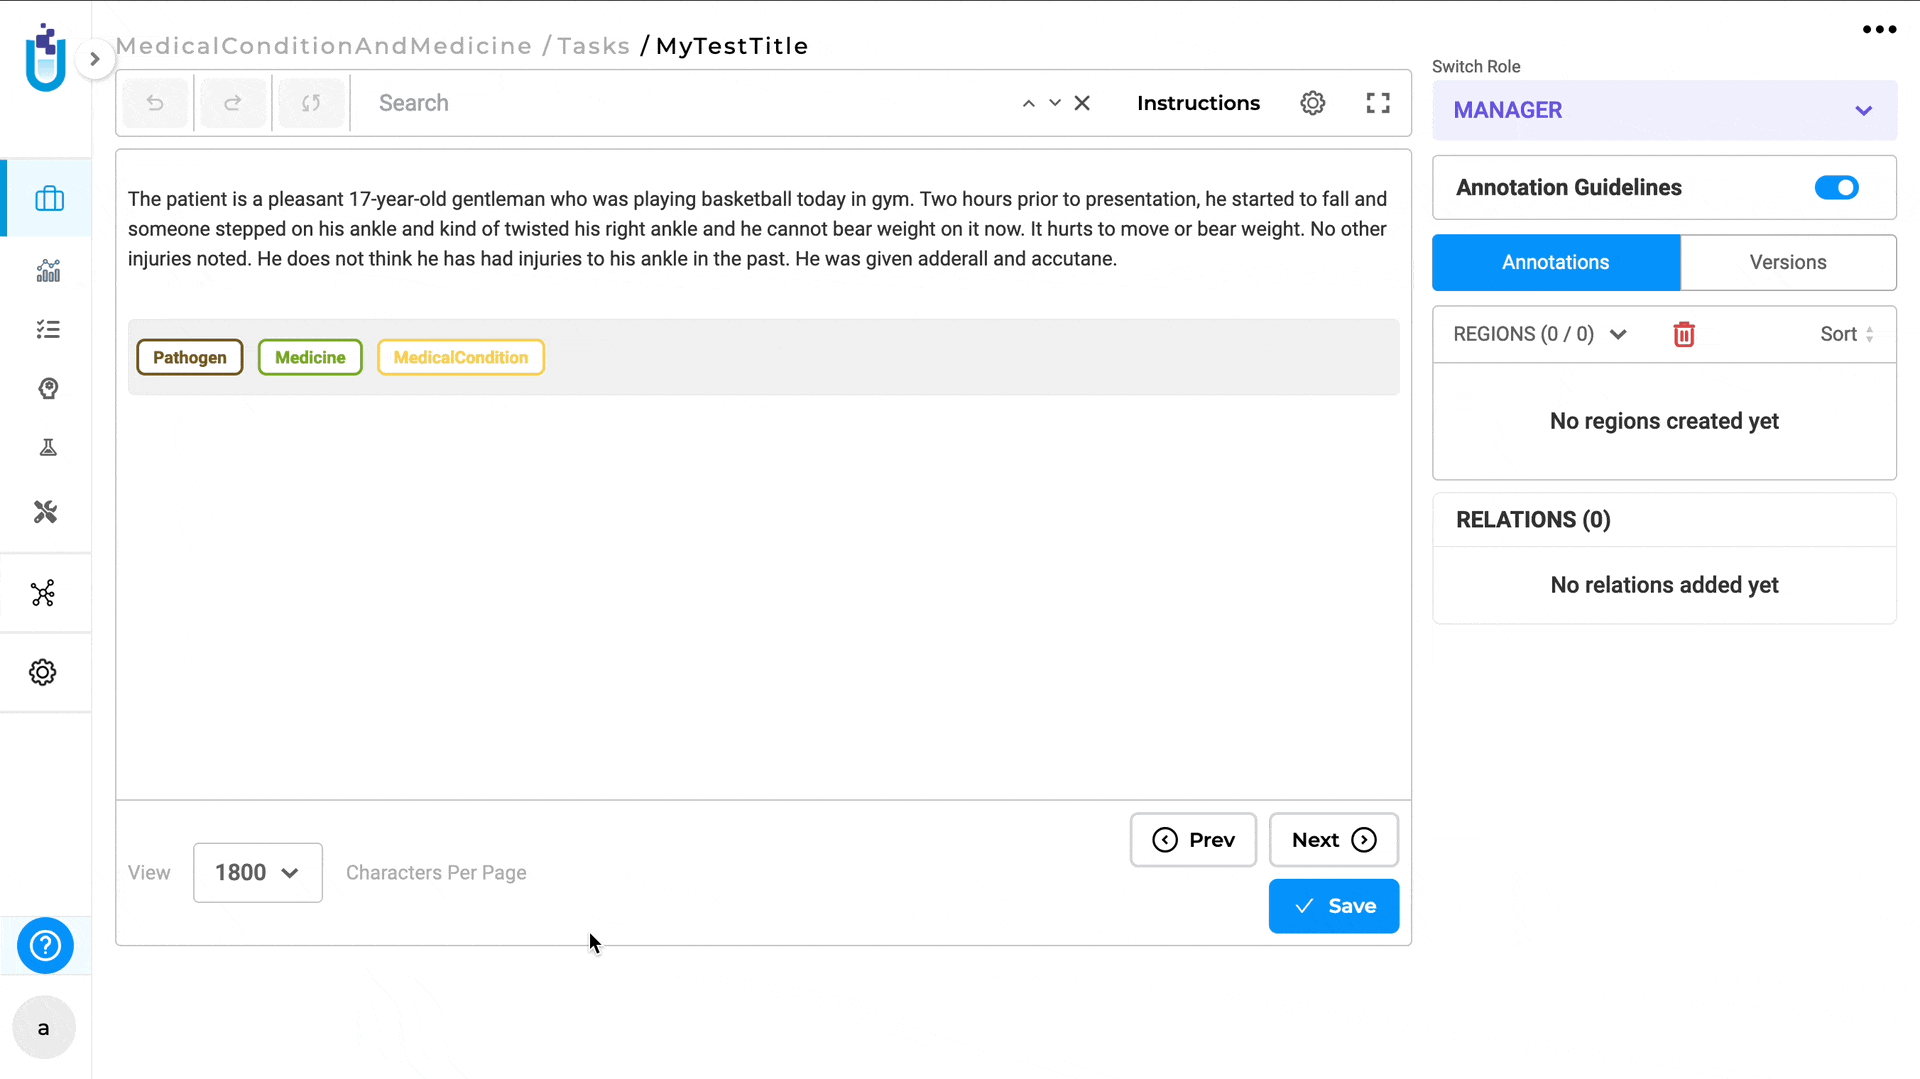
Once instructions are added, they can be viewed directly from the labeling page in the Annotation Guidelines widget on the right panel.
Annotators can toggle the display on or off using the Annotation Guidelines switch.
To view the guidelines, the label must be activated by clicking it; the corresponding instructions will appear under the Annotation Guideline section.
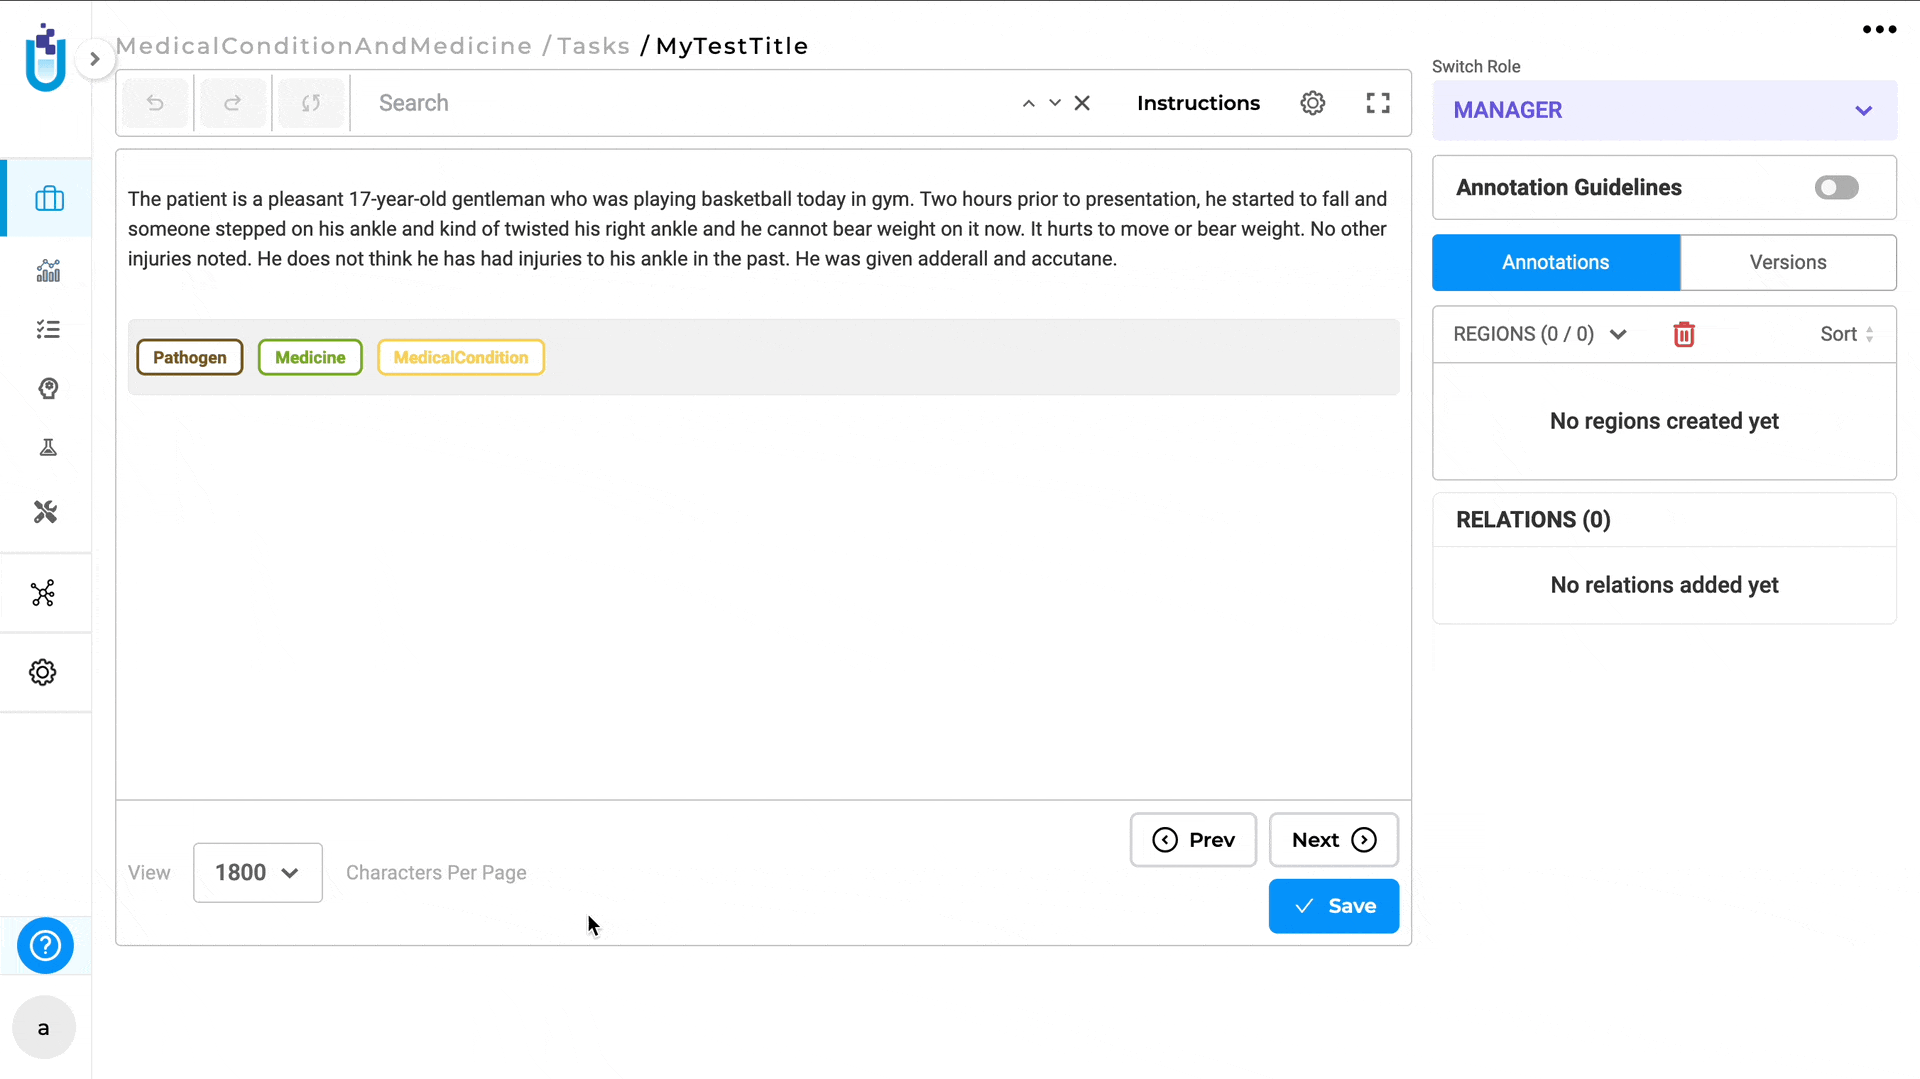
Users with the Project Manager role can edit or delete annotation guidelines directly from the labeling page.
Annotators and Reviewers can view the instructions but cannot modify or remove them.
Remove instructions from the labeling page:
Edit instructions from the labeling page:
When multiple labels are selected, their respective guidelines can be viewed one at a time by clicking the label name.
Annotation guidelines can also be downloaded in JSON format via the Download icon on the Customize Labels page, enabling easy sharing or reuse across projects.
Guidelines are also available for Assertion Labels, ensuring consistent labeling for entity and context annotations alike.