AWS Marketplace
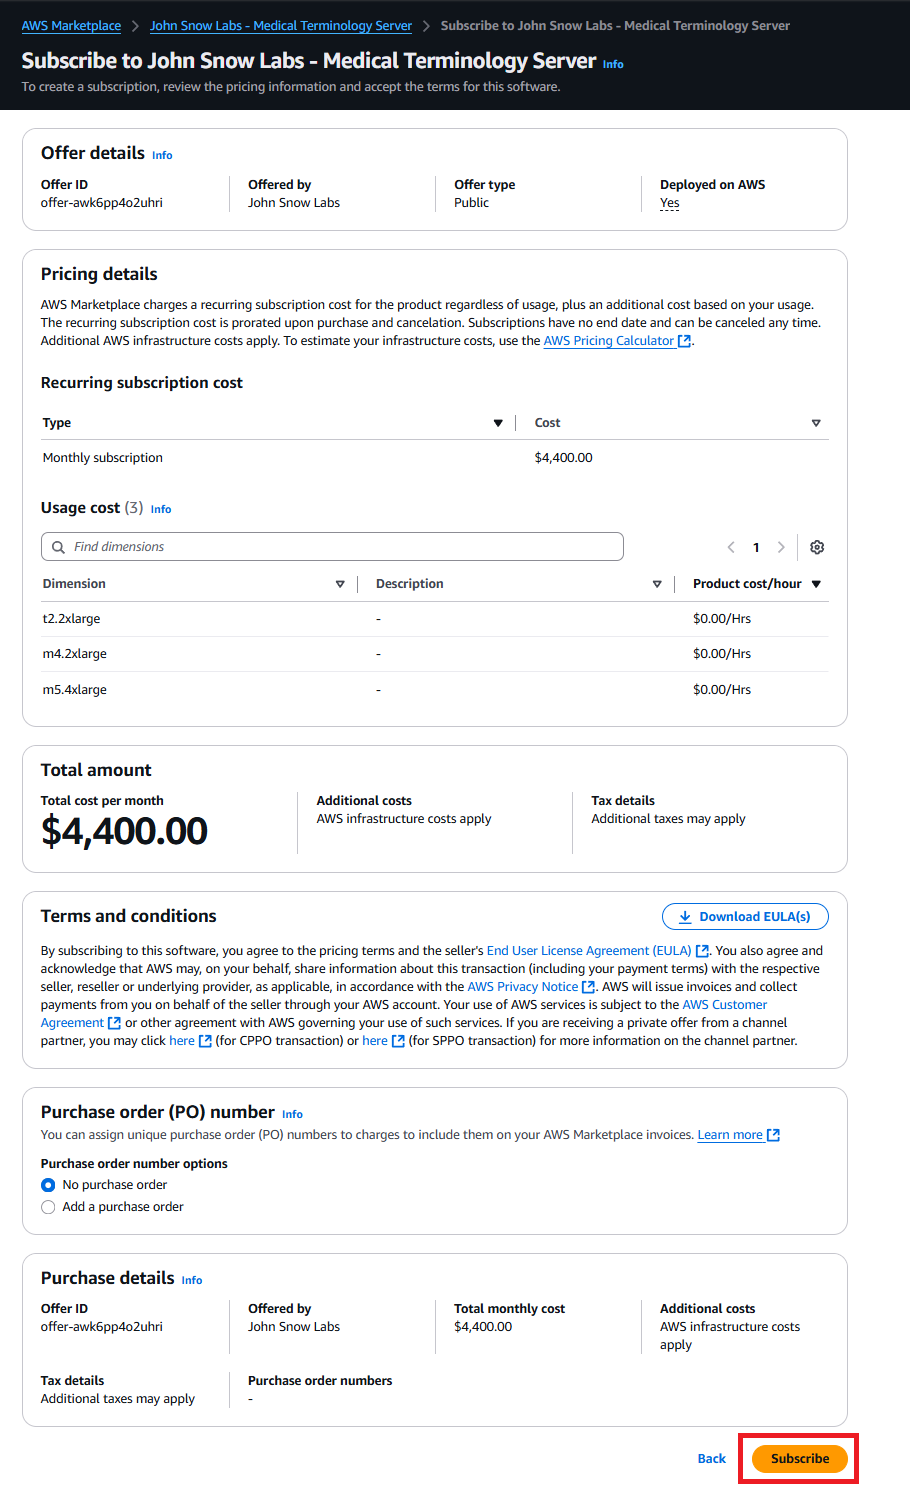
One of the most straight forward method to start using Terminology Server is using the AWS Marketplace. Using AWS Marketplace, the Terminology Server will be deployed on your AWS EC2 instance with just a few clicks. There is a Software Price and AWS Infrastructure price associated this with this installation method (Details are in the product page in AWS Marketplace)
Visit the product page on AWS Marketplace and follow the instructions to subscribe and deploy
Steps to get started:
- Subscribe to the product on the AWS Marketplace.
-
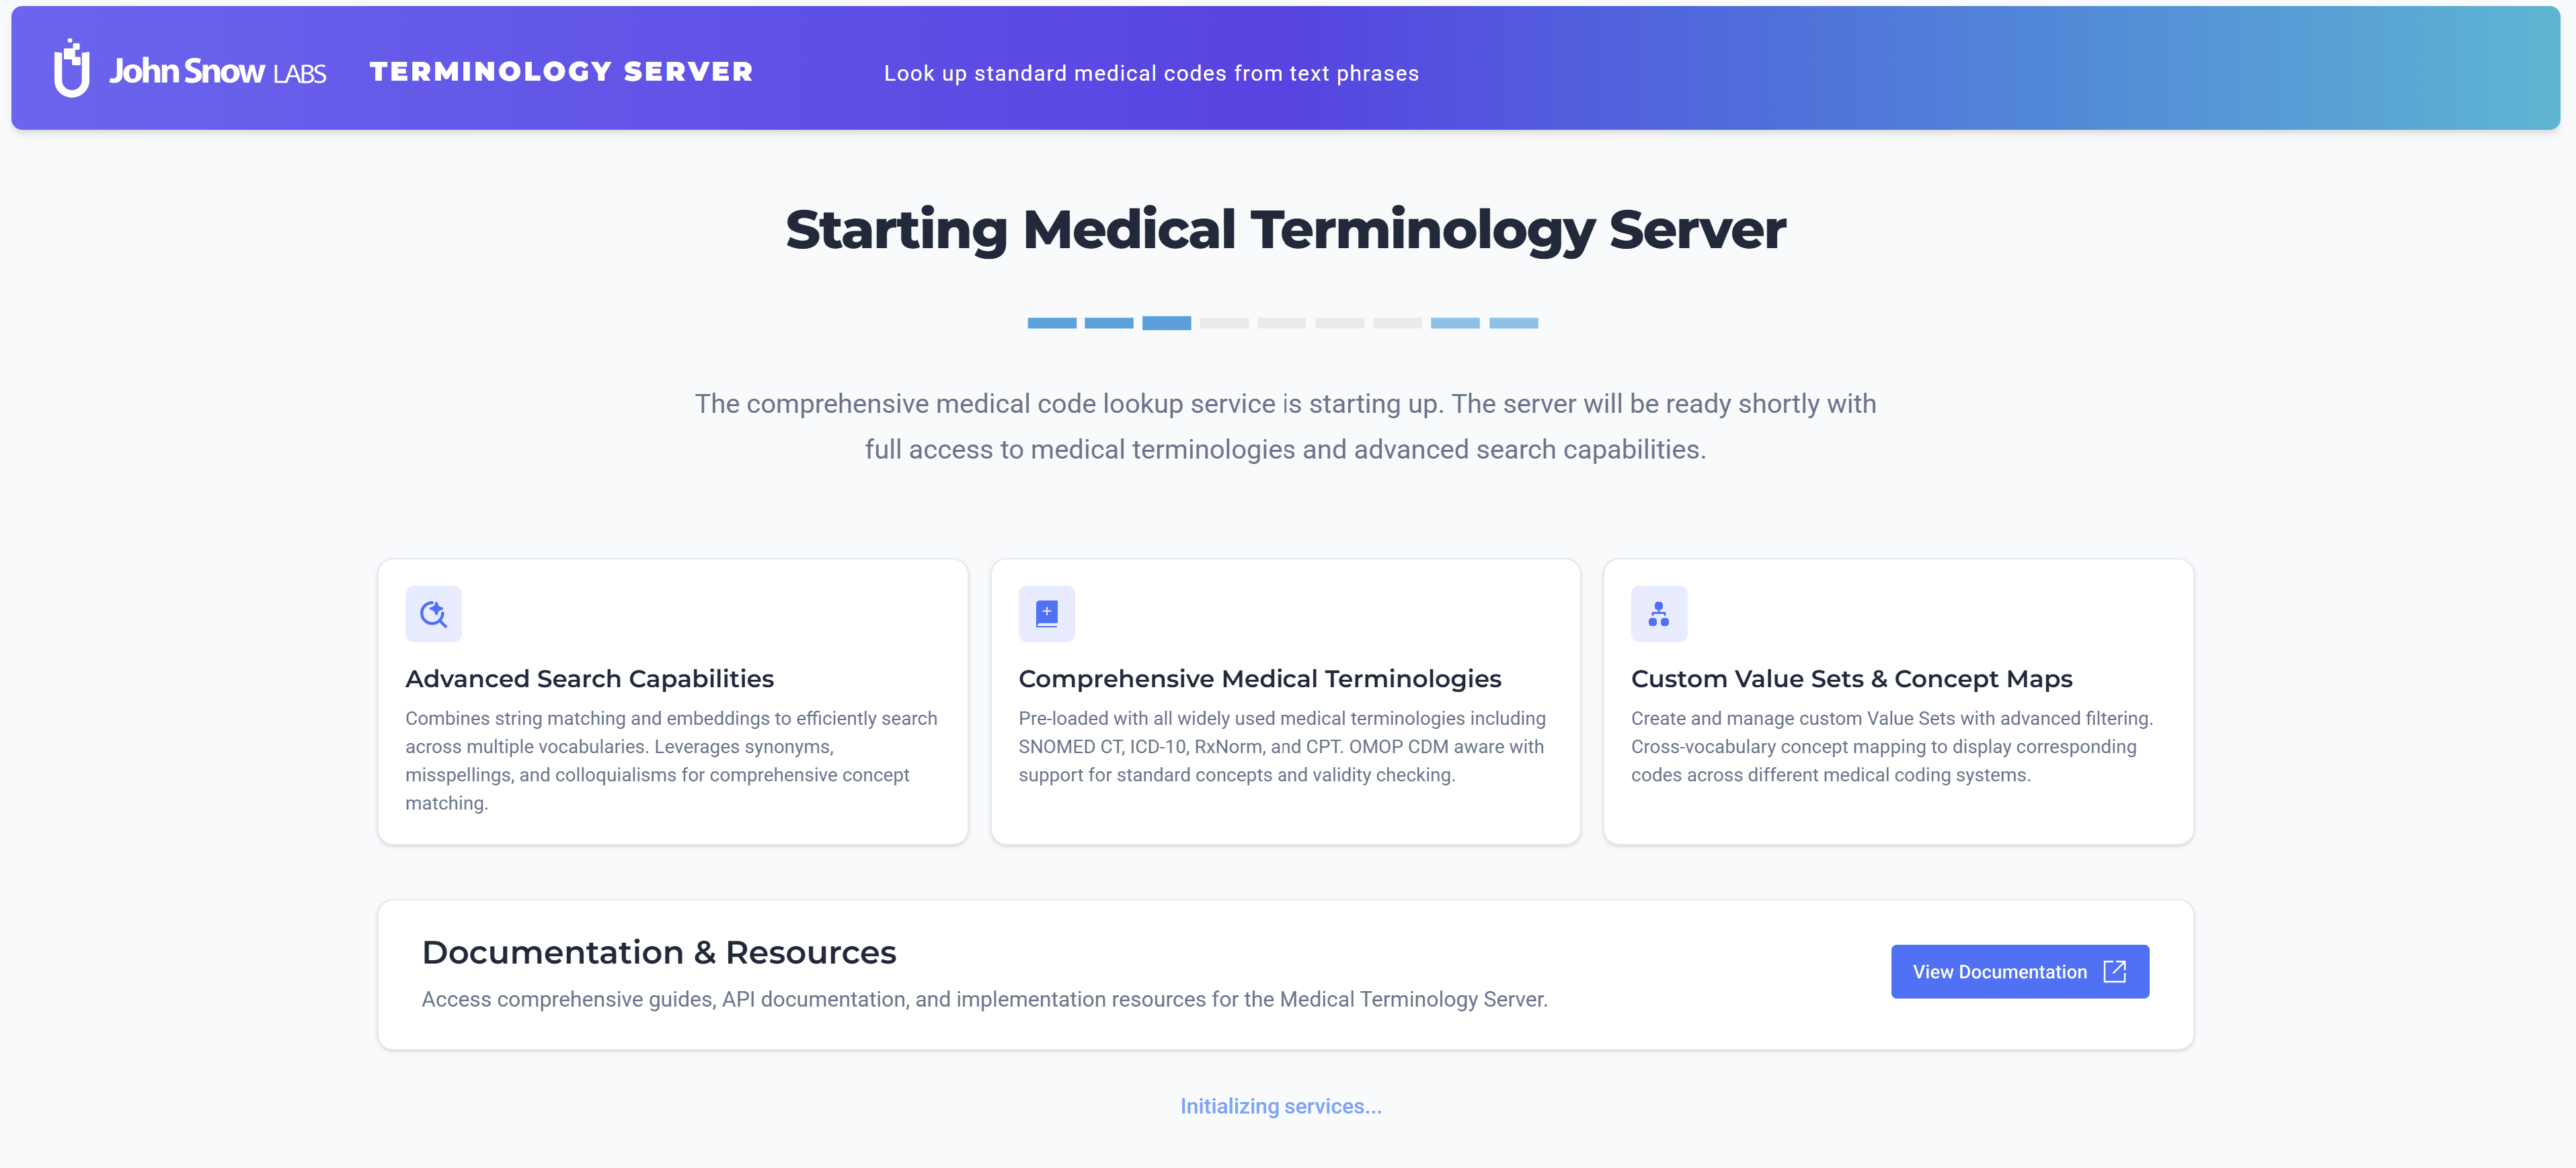
Once subscribed, deploy it on a new machine

-
After deployment, the application will be accessible on http://INSTANCE_IP.
It takes around 20 minutes (depending upon your region) for the services to be up and running. You will see a loading screen while the services are being configure.
- Once the services are up, you can login to the Terminology Server UI using the following credentials:
- Username: admin@term.server
- Password: «instance_id» (You can find the instance id in the AWS EC2 console)

Secure access to Terminology Server on AWS
- When installed via the AWS Marketplace, Terminology Server has a private IP address and listens on an unsecured HTTP port. You can ask your DevOps department to incorporate the resource to your standard procedures to access from the internet in a secure manner. Alternatively, a Cloud Formation script is available that can be used to create a frontend proxy using (CloudFront). Those resources are Free Tier Eligible.
- Create the AWS Cloud Formation Script in YAML format, from the listed script cloudformation_https.yaml
-
vi cloudformation_https.yamlAWSTemplateFormatVersion: '2010-09-09' Metadata: License: Apache-2.0 Description: 'AWS CloudFormation To access TerminologyServer via https: Create an Amazon EC2 instance running the TerminologyServer Linux/UNIX AMI. Once the TerminologyServer instance is created, provide instance hostname as input. This Cloudfromation Creates Cloudfront. You can use Cloudfront Domain URL to access TerminologyServer via https protocol. ' Parameters: TsInstanceHostName: Description: HostName of the TerminologyServer InstanceID Type: String ConstraintDescription: HostName of the TerminologyServer InstanceID Resources: CloudFront: Type: AWS::CloudFront::Distribution Properties: DistributionConfig: Enabled: True DefaultCacheBehavior: AllowedMethods: - DELETE - GET - HEAD - OPTIONS - PATCH - POST - PUT DefaultTTL: 0 MaxTTL: 0 MinTTL: 0 Compress: True ForwardedValues: QueryString: true Headers: - '*' Cookies: Forward: all TargetOriginId: EC2CustomOrigin ViewerProtocolPolicy: redirect-to-https Origins: - DomainName: !Ref TsInstanceHostName Id: EC2CustomOrigin CustomOriginConfig: HTTPPort: '80' OriginProtocolPolicy: http-only Outputs: CloudfrontURL: Description: Cloudfront URL to access TerminologyServer Value: !Join ["", ['https://', !GetAtt [CloudFront, DomainName]]]
-
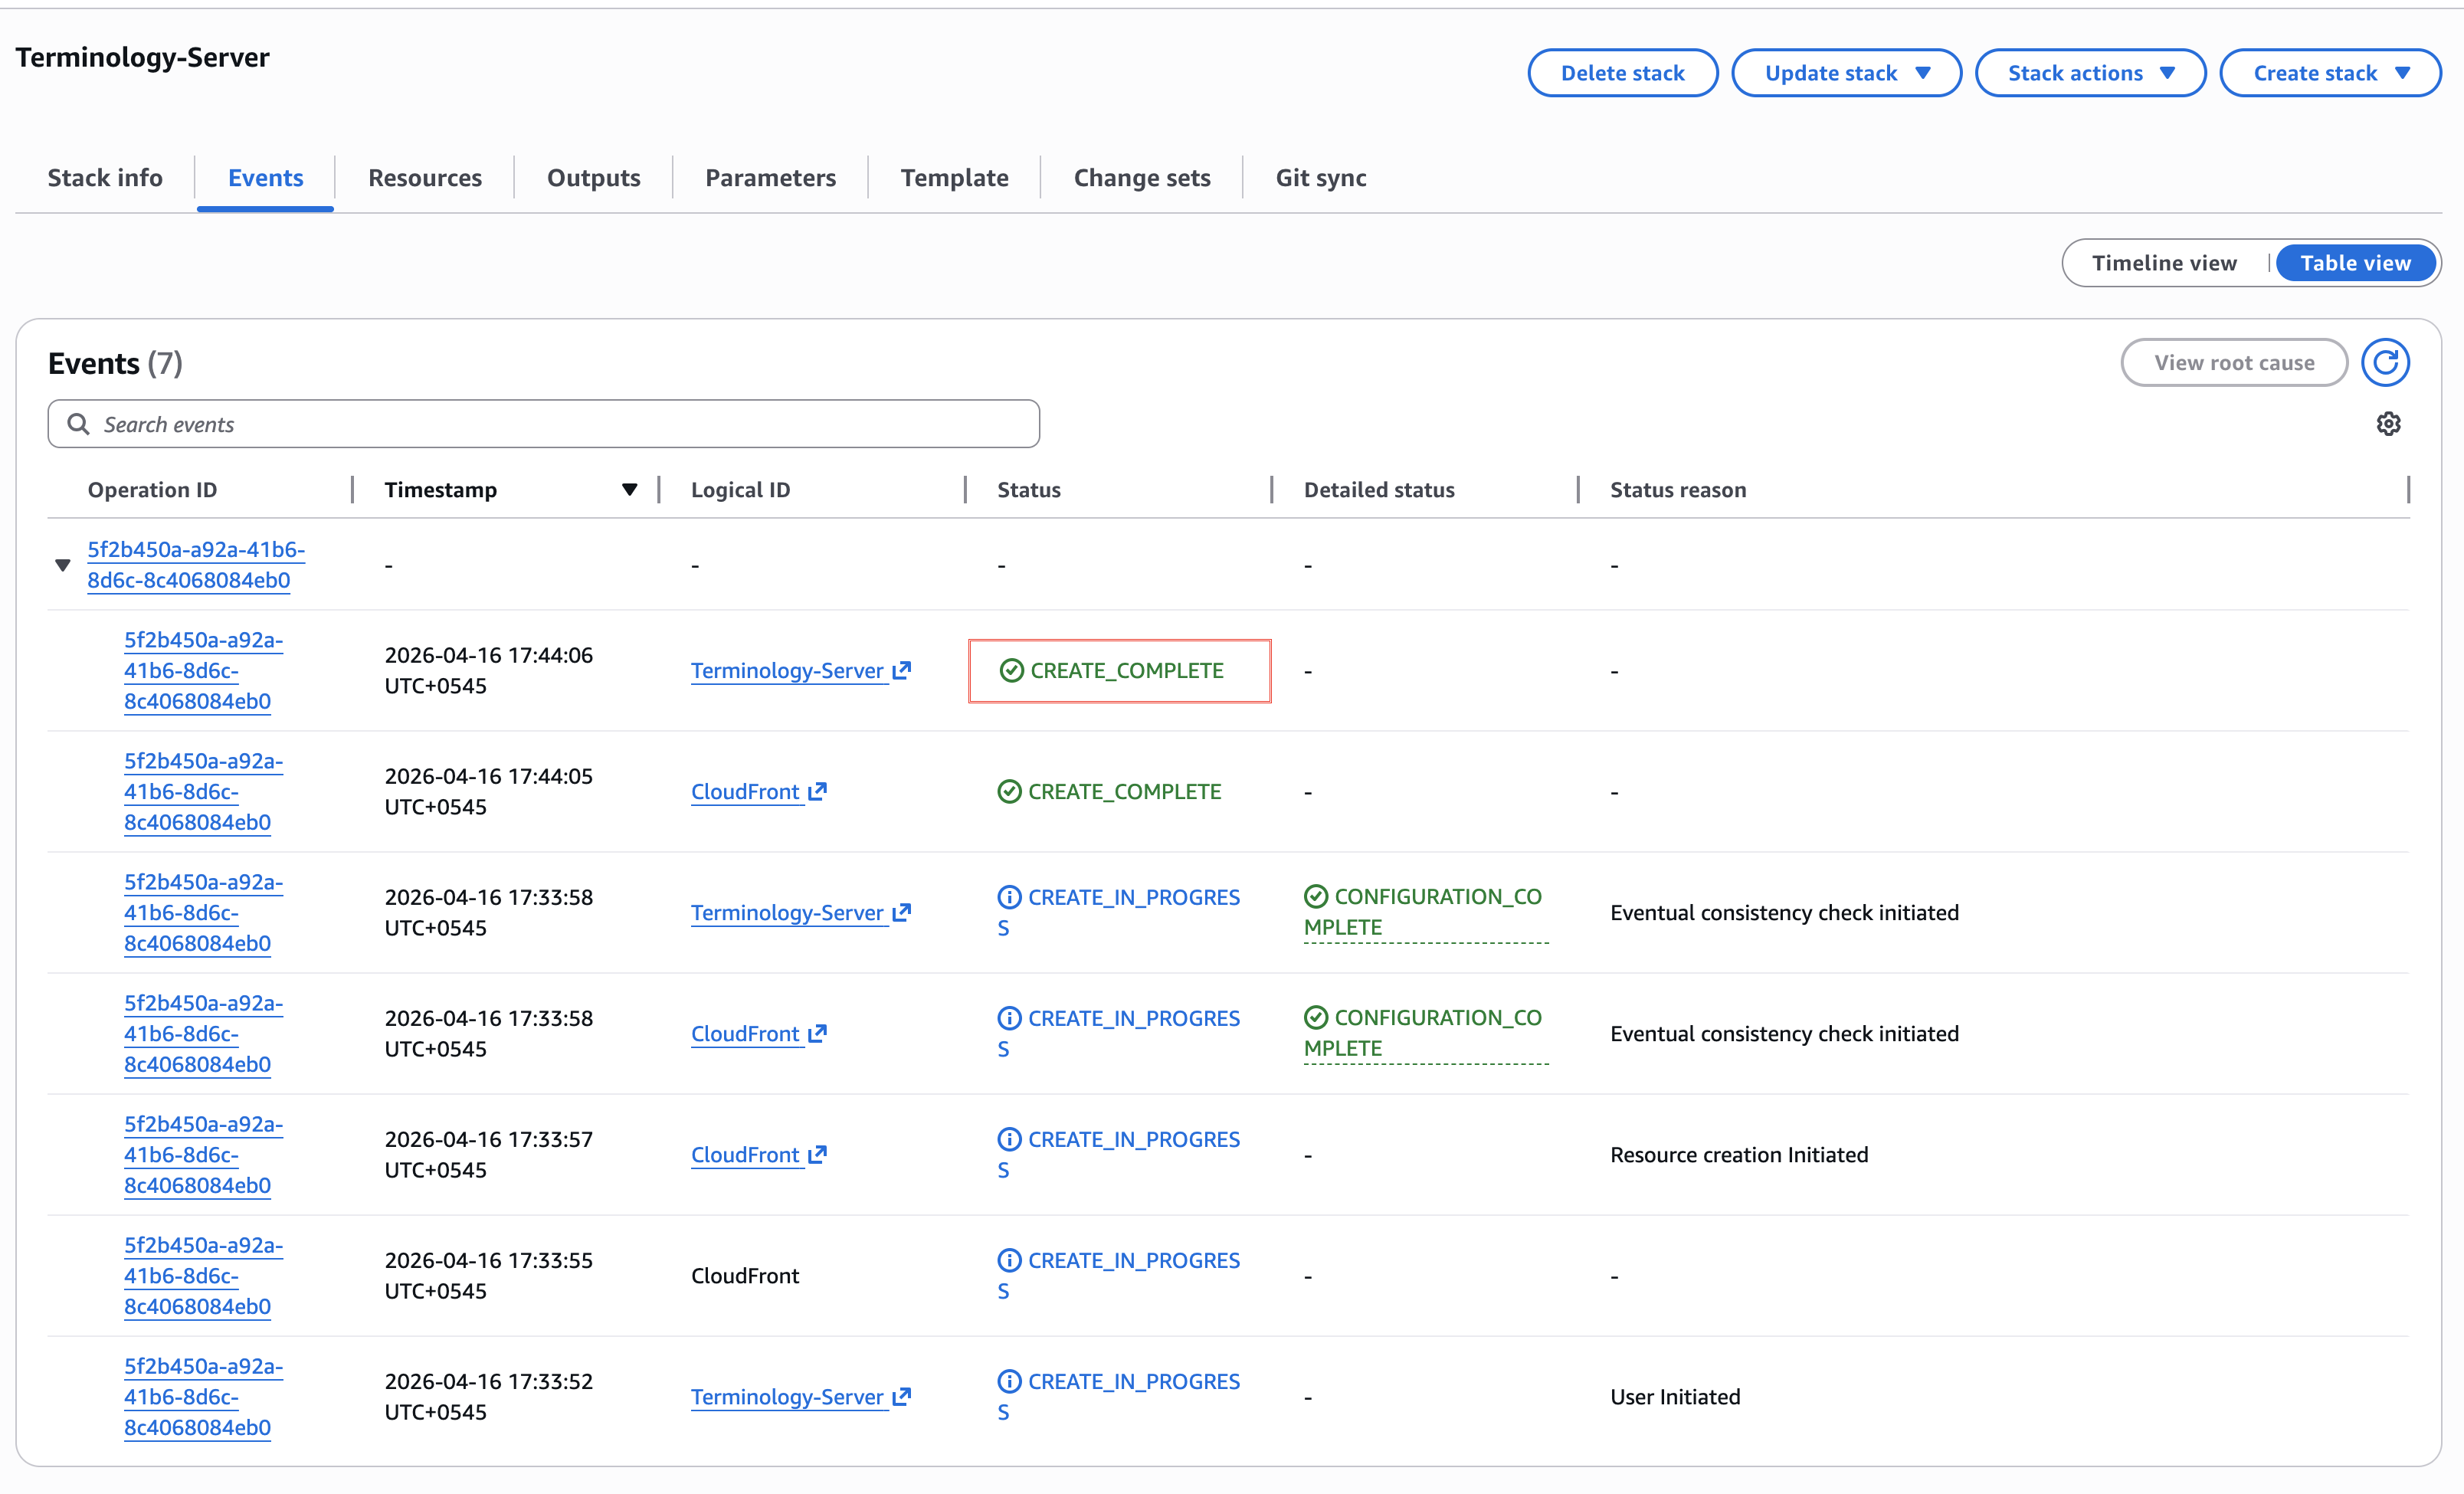
- Click Create a stack, “Upload a template file”. Give the Stack a name and enter the TerminologyServer instance Hostname(from the EC2 console) as a parameter.
- Next -> Next -> Acknowledge that AWS CloudFormation might create IAM resources. -> Submit. Wait a few minutes until all resources are created.
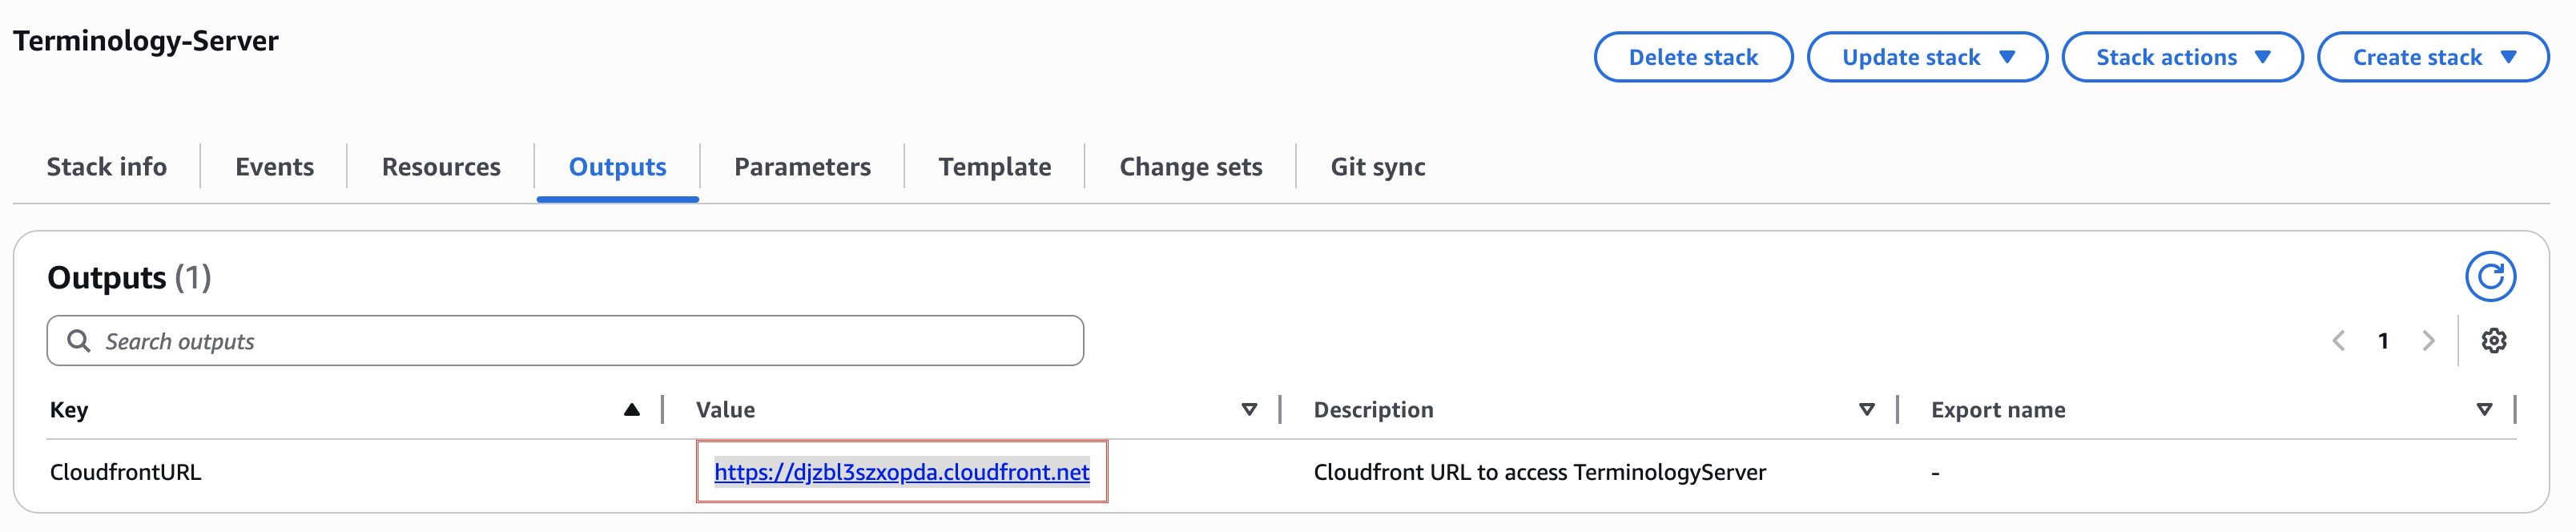
- Once created, go do the Outputs tab and click on the Terminology Server URL. You may need to refresh the view.
- Copy the output url.
- SSH into the ec2 instance where Terminology Server is running.
- Cd to home dir, Replace the output_url in the cmd below with the url from step 6. Then Execute the cmd in your Terminology Service Instance.

curl -sSL https://s3.us-east-1.amazonaws.com/artifacts.terminologyservice.johnsnowlabs.com/upgrade.sh | bash -s "output_url"